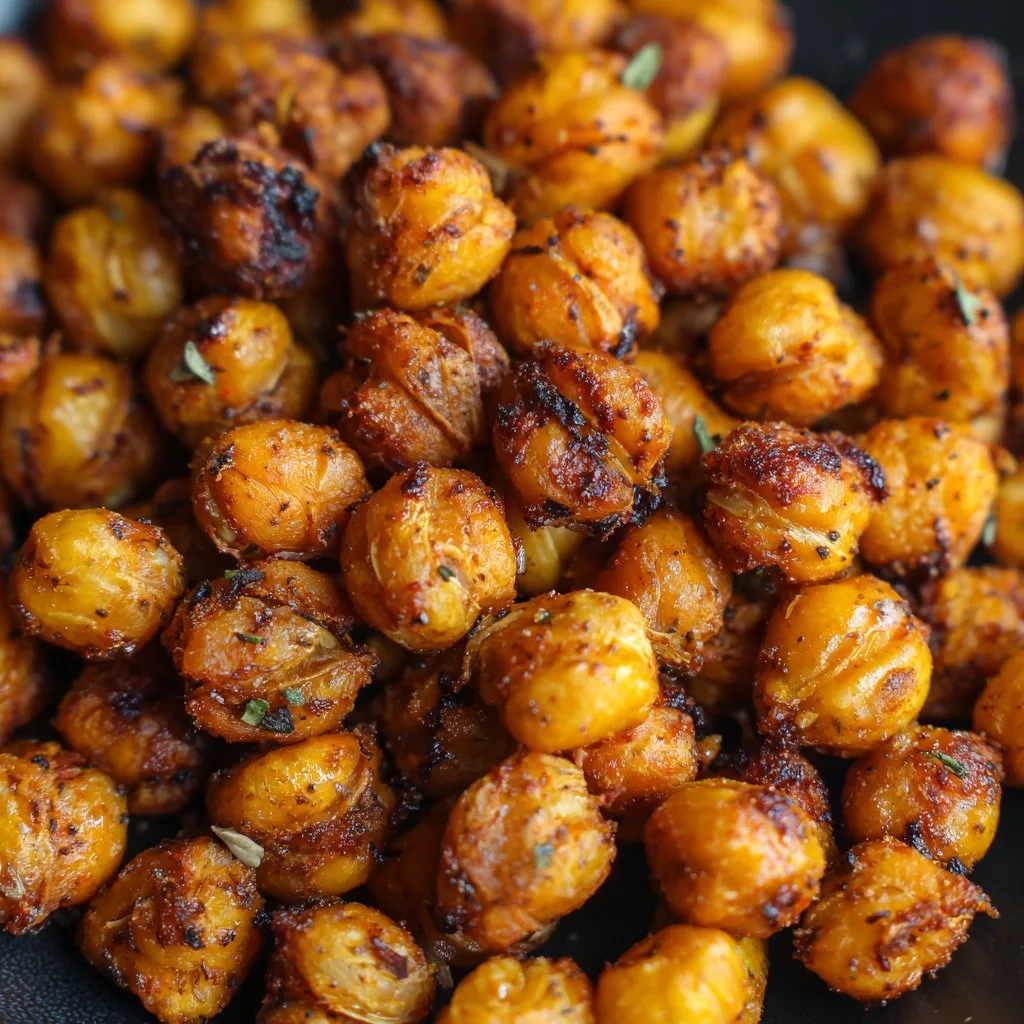
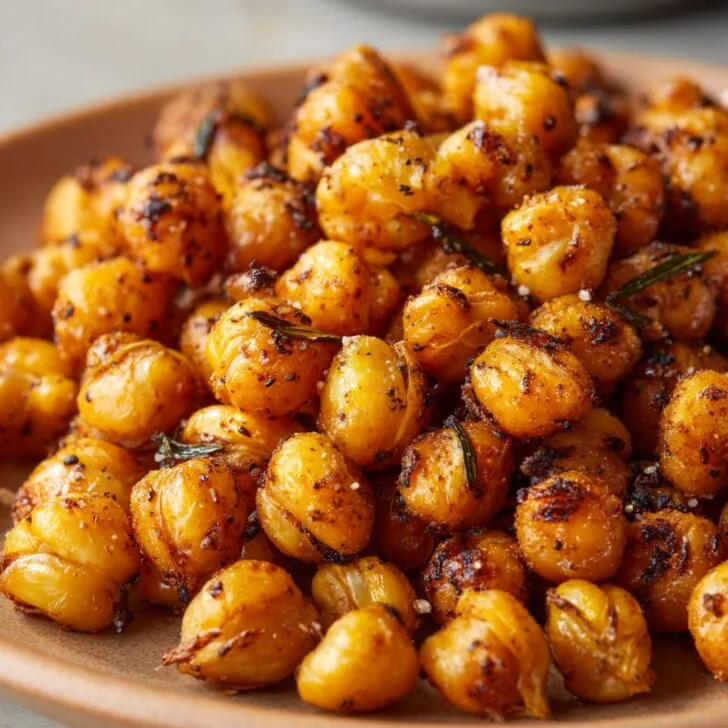
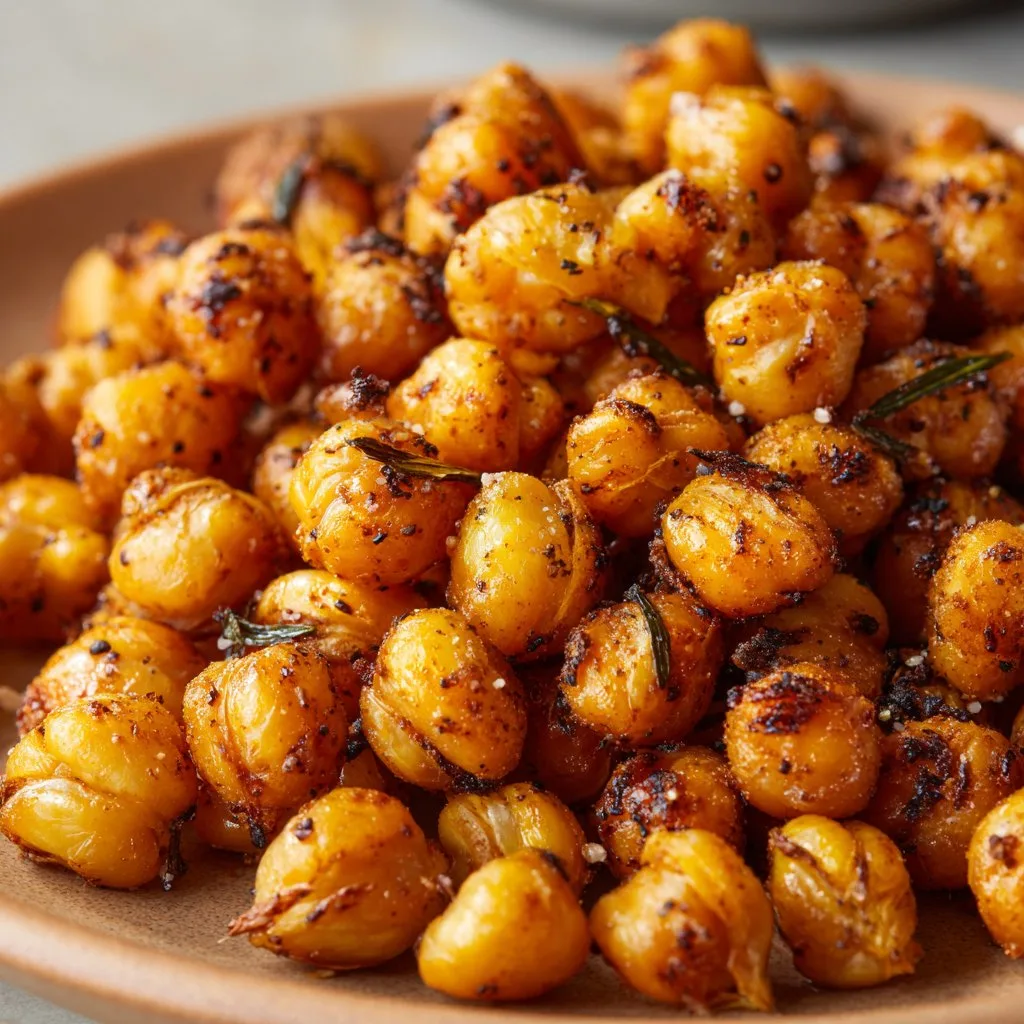
Let Me Tell You About These Chickpeas
Alright, so here’s the deal: my eternal quest for the perfect crunchy snack (that’s not just a plain old packet of crisps) led me to these roasted chickpeas. And honestly? At the risk of sounding dramatic, my snack game has never been the same since. I still remember the first time I made them—half expecting a soggy mess and, well, let’s just say they vanished faster than my willpower on a Friday night. My kids now ask for them as if they’re some kind of magical treat. I’ll admit, they feel a bit magical—like, how can something so simple turn out so good? Anyway, you’re in for a treat. And if you burn them the first time (been there), just know you’re in good company.
Why You'll Love This Snack
I whip these up when I’m craving something salty but don’t want to go full potato chip. My family goes crazy for these because you can shake on whatever spices you like (my son once dusted his with taco seasoning and now that’s the standard in our house). Actually, the first time I tried these, the chickpeas were a bit too chewy—turns out, you really do need to dry them well. Now I just toss them into the air fryer and hope nobody catches me sneaking a few before they’re technically done. If you’ve ever been frustrated by homemade snacks that turn out kinda sad, this is a good redemption recipe!
What You Need
- 1 can (400g) chickpeas, drained and rinsed (sometimes I use dried chickpeas I’ve soaked overnight, but who has time?)
- 1-2 tablespoons olive oil (I’ve used avocado oil once—tastes fine; my grandmother insisted on classic olive oil though)
- 1 teaspoon sea salt (or more—sometimes I get a bit heavy-handed, no regrets)
- 1 teaspoon smoked paprika (totally optional; you can skip or swap for curry powder if you’re feeling bold)
- ½ teaspoon garlic powder
- Black pepper to taste
Optional extras: Cumin, chili powder, a squeeze of lemon after roasting (it’s surprisingly good), or even a pinch of sugar if you want a sweet-salty mix.
How I Make 'Em (Step-by-Step, Sort Of)
- First, crack open your can of chickpeas, drain, and rinse 'em well. This is the part where I usually lose a chickpea or two to the sink monster. Pat them dry—seriously, the drier the better. I use an old tea towel but paper towels work fine too.
- Toss the chickpeas in a big bowl with olive oil, salt, and whatever spices you love. I do this by hand; it feels more fun somehow. If your hands don’t smell like garlic after, did you even make these?
- Pour the chickpeas into your air fryer basket. Try to spread them out in a single layer, but honestly, sometimes I just chuck them in and hope for the best. Set the air fryer to 200°C (about 400°F) and roast for 13 to 16 minutes—give them a shake once or twice during cooking. This is when I always sneak one just to see (and sometimes burn my tongue, so watch out).
- When they look golden and sound like tiny pebbles rattling around, they’re probably done. If they feel a bit soft, pop them back for another 2 minutes, but keep an eye on them because suddenly they go from perfect to, um, too crunchy.
- Let them cool a bit—they get crunchier as they cool, oddly enough. Don’t worry if they look a bit weird at this stage; somehow they always come together.
Some Notes (Things I Learned the Hard Way)
- If you skip drying the chickpeas, you get more chew than crunch. Trust me, you want the crunch.
- Sometimes I forget to shake the basket; it’s not the end of the world, but they toast up more evenly if you remember.
- Don’t freak out if some chickpeas pop open. I think those are the best bits.
- And, if you over-season, just call them “extra flavour” and move on.
Variations (Some Hits, Some Misses)
- I tried cinnamon sugar once—good but not amazing. Maybe I did something wrong?
- Buffalo-style: Toss with a splash of hot sauce and a pinch of cayenne after cooking. My husband says this is “next level.”
- Lemon zest and cracked pepper are lovely if you want something a little less punchy.
- Didn’t love them with dried rosemary—tasted kind of like potpourri, honestly.
Equipment (and Some MacGyvering)
- You’ll want an air fryer (here’s a guide I actually used to pick mine), but if you don’t have one, you can use a regular oven—it just takes longer, and they’re a bit less crunchy.
- Bowl (any old mixing bowl will do—honestly, I’ve used a saucepan in a pinch)
- Paper towels or a clean tea towel for drying

How to Store Them (But They Never Last Long Here)
Let them cool completely, then pop them in an airtight jar or container. In theory, they’ll keep for up to 4 days. But in my house, if they make it past the first night, it’s a miracle. If you want them to stay crisp, keep the lid just a bit loose or add a little pouch of uncooked rice (my aunt swears by this trick—no clue if it actually works).
How to Serve (Or Just Eat 'Em Straight)
I usually just dump them in a bowl and set them out. But, my brother sprinkles them over salads for crunch—genius, right? They’re also fantastic as a beer snack or scattered over soup for a little upgrade. Sometimes I even toss them into a lunchbox (and hope they don’t get soggy).
My Pro Tips (Learned the Hard Way)
- Don’t rush the drying. I once tried to shortcut this and ended up with chickpeas that tasted like, well, sadness.
- If you overload the air fryer basket, you’ll get uneven crunch—actually, I find it works better if you do two small batches.
- Taste and adjust the spices before cooking, not after (unless you like spicy dust everywhere).
FAQ (Real Questions I’ve Been Asked)
- Can I use dried chickpeas instead of canned? You can—just soak and cook them first. I’ve done it maybe twice, but I’m usually too impatient. Canned is just easier.
- Are these actually healthy? I mean, they’re chickpeas, not chocolate bars. But they’re not calorie-free! Still, better than deep-fried stuff in my book.
- What if I don’t have an air fryer? I’ve baked them in the oven at 200°C/400°F for 30-40 minutes. Not quite the same, but still good. Here’s a helpful oven version from Bon Appétit.
- Can you freeze these? I wouldn’t—tried it once and they went from crunchy to sad and chewy. Just make a small batch instead.
- Are they gluten-free? Yep (unless you add something weird). Double check your spices, though.
So there you have it: my not-so-perfect, always-delicious crunchy roasted chickpeas snack, air fryer style. I hope you love them as much as we do! If you find a spice combo that blows your mind, let me know—or better yet, send snacks. (Kidding, kinda.)
Ingredients
- 1 can (15 oz) chickpeas, drained and rinsed
- 1 tablespoon olive oil
- ½ teaspoon sea salt
- ½ teaspoon smoked paprika
- ¼ teaspoon garlic powder
- ¼ teaspoon ground cumin
- ¼ teaspoon black pepper
- ⅛ teaspoon cayenne pepper (optional, for heat)
Instructions
-
1Pat the chickpeas dry thoroughly with a clean kitchen towel or paper towels to remove excess moisture.
-
2In a large bowl, toss the chickpeas with olive oil, sea salt, smoked paprika, garlic powder, ground cumin, black pepper, and cayenne pepper if using.
-
3Preheat the air fryer to 400°F (200°C) for 2 minutes.
-
4Spread the seasoned chickpeas in a single layer in the air fryer basket.
-
5Air fry for 12-15 minutes, shaking the basket halfway through, until the chickpeas are golden and crispy.
-
6Let the chickpeas cool for a few minutes before serving. Enjoy as a snack or salad topping.
Approximate Information for One Serving
Nutrition Disclaimers
Number of total servings shown is approximate. Actual number of servings will depend on your preferred portion sizes.
Nutritional values shown are general guidelines and reflect information for 1 serving using the ingredients listed, not including any optional ingredients. Actual macros may vary slightly depending on specific brands and types of ingredients used.
To determine the weight of one serving, prepare the recipe as instructed. Weigh the finished recipe, then divide the weight of the finished recipe (not including the weight of the container the food is in) by the desired number of servings. Result will be the weight of one serving.
Did you make this recipe?
Please consider Pinning it!!

