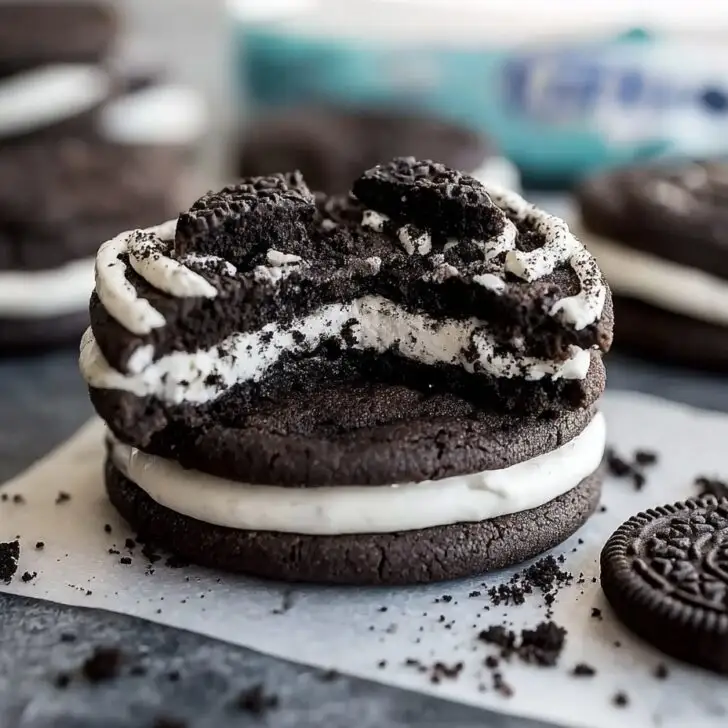
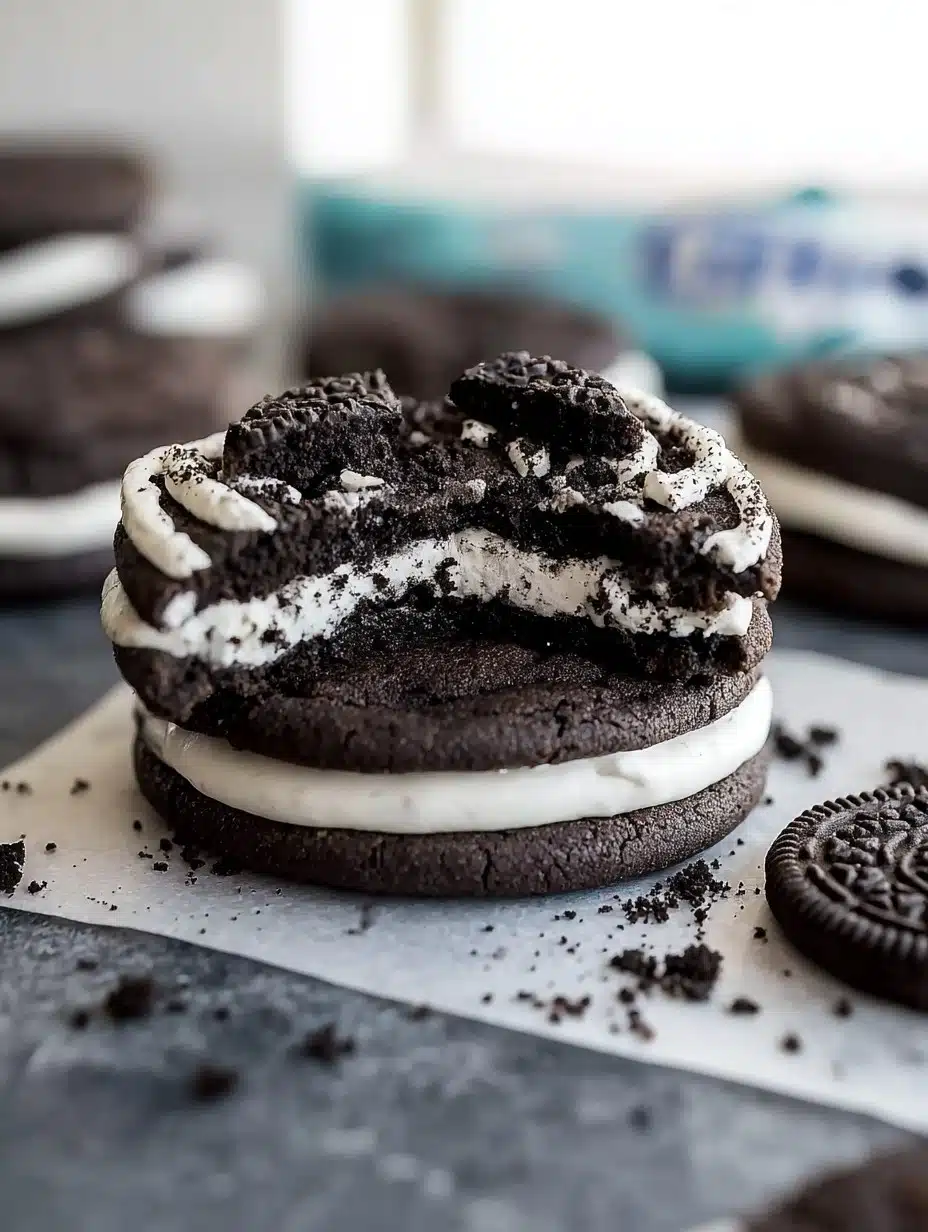
You know those days when you just need a ridiculously big, chocolatey cookie—preferably one stuffed with Oreos? Well, this Chocolate Oreo Crumbl Cookie recipe is what I make when the sweet tooth hits like a sledgehammer. First time I baked these, it was supposed to be "just one batch," but, right, who was I kidding? By the time I looked away (for maybe three minutes tops), half of them were gone. My kids still swear it wasn't them, which is actually pretty believable because I've caught my partner more than once with chocolate on his chin. Anyway, if you ever wanted a cookie that feels like an event, not just a snack, welcome. Grab your apron—and probably a tall glass of milk. You're going to want it.
Why You’ll Probably Love These
- I pull these out when the weather's gloomy, or frankly when my week’s gone sideways. Something about smashing Oreos into a mountain of dough just makes life better. My family goes a bit bonkers for these, especially if they're fresh (though honestly, they're still magic the next morning—I actually prefer them then, but maybe I'm weird).
- They taste like those crazy oversized bakery cookies but you made them yourself. I once got so annoyed that the store-bought ones were always dry, so I doubled the butter here—and trust me, it works wonders.
- It’s a good “his and hers” cookie at our house: I pick the crispy edges, he picks the gooey middles. Win win (no fighting; well unless the last one’s up for grabs!).
Stuff You'll Need (And Some Easy Substitutions)
- 2 and ¼ cups (about 280g) all-purpose flour (I sometimes swap half for bread flour if I want a chewier bite—no drama either way)
- ¾ cup unsweetened cocoa powder (My gran would only use Hershey’s, but honestly, the cheap store brand works fine in a pinch!)
- 1 teaspoon baking soda
- ½ teaspoon baking powder
- ½ teaspoon salt (sea salt flakes, if I’m feeling fancy)
- 1 cup (225g) unsalted butter, room temp (melt it if you're in a hurry, but the texture’s softer—I do this more often than I probably should)
- 1 and ¼ cups brown sugar (light or dark, whatever’s lurking in your cupboard is grand)
- ½ cup granulated sugar
- 2 large eggs
- 2 teaspoons vanilla extract (artificial is fine, I won’t tell)
- 12 Oreo cookies, chopped (or a handful more if you’re feeling reckless—sometimes I do mint Oreos, but it’s not for everyone!)
- 2 cups semi-sweet chocolate chips (or milk chocolate if that’s all you have)
- Optional: pinch instant coffee (makes chocolate taste richer, but only if you remember it)
So Here's How You Do It (With Honest Side Notes)
- Get preheated: Oven goes to 350°F (175°C). Line a couple big baking sheets with parchment. I once forgot and everything still worked out—just a bit more dish-washing.
- Mix dry things together: Flour, cocoa, baking soda & powder, salt. Give ‘em a quick whisk or just a fork—no need to get fussy. If your cocoa’s lumpy, mash it up.
- Cream the butter & sugars: Beat ‘em together (stand mixer makes it easy, but I use a big bowl and elbow grease half the time—don’t let anyone gatekeep cookies). 2-3 minutes till it looks light-ish. This is where I sneak a little taste sometimes—just for science.
- Eggs and vanilla go in: Add ‘em one at a time, mixing in between. If it looks split, don’t panic. The flour fixes it later.
- Combine it all: Slowly mix the dry stuff into the buttery mix. It’ll look too thick at first—just keep going. This is the point where I usually get impatient and poke it with my hands. Don’t worry if it looks a bit weird now, it always does!
- Time for chocolate and cookies: Fold in your chocolate chips (and that pinch of instant coffee, if using) and chopped Oreos. It should look like a monster cookie dough at this point. Or a rocky road. Don’t overthink it.
- Scoop giant cookies: Seriously, use a large cookie scoop or two spoons—big balls, like ice cream scoops. Plop onto your tray, maybe 2 inches apart. If you don’t have a scoop, just grab a handful and roll it. Rustic works!
- Bake for 10-13 minutes: Edges firm, middles soft (they set up as they cool). If you want them gooey, pull at 10; if you want firmer ones, go closer to 13. Actually, in my oven, 12 is the sweet spot,
but yours probably has a mind of its own like mine. - Cool a bit: 10 minutes on the sheet, then transfer—if you can wait that long. They’re ridiculous warm, but messy.
- Eat & enjoy: That’s it! The toughest step is not eating four in a row.
My Notes (or, Stuff I Figured Out the Hard Way)
- If you want bigger chunks of Oreo, just break them up by hand instead of chopping. I once put them in a food processor; huge mistake—just Oreo dust and not nearly as fun.
- Letting the dough rest even 30 minutes makes a difference, but usually I'm too impatient. Still works. Actually, overnight in the fridge might be best? I never have the willpower.
- If you're sensitive, don't overload with extra chips, or you'll end up with oozing puddles (not the worst problem, but messy).
Variations I’ve Tried (Not All Winners!)
- Peanut butter Oreos in the dough—way too sweet for me, but my neighbor swears by it. Maybe give it a try with less sugar?
- Adding a tablespoon of cornstarch; cookies got plush, but a little cake-y for my taste.
- Once I did white chocolate chips instead of regular—really pretty, but honestly bland if you’re a chocolate fiend.
What You’ll Need (But There’s a Workaround, Promise)
- Stand mixer or a big bowl with a sturdy spoon (mixing by hand works, but you’ll earn that cookie).
- Large baking sheets—use two if you can. Or swap out batches, no biggie.
- Parchment paper (or foil, if you forgot to stock up, like me last week—just grease it).
- Cookie scoop (ice cream scoop or just your hands—no judgment!)

How to Store ‘Em (If They Stick Around)
Okay, airtight container, room temp, 3-4 days. But—I’ll level with you—they have never lasted 24 hours here (and I’m pretty sure my son’s got a hidden stash somewhere, the little goblin). Oh, if you want that fresh-baked gooeyness again, 10 seconds in the microwave. Magic.
My Favorite Way to Serve (Besides, You Know, Eating Them Solo)
Honestly, giant cookies and a tall glass of cold milk—what’s better? At parties, I “accidentally” break a few and pile them high on a platter with extra mini Oreos as garnish. My cousin dips hers in coffee. Wild, but it works. If you’re feeling posh, a scoop of vanilla ice cream on a warm cookie is dangerous in the best way. Real treat for movie night, too.
Hard-Earned Pro Tips
- I once tried rushing the butter-softening step and ended up with lumpy dough—so don’t microwave too long or you’ll get greasy cookies. Now I just leave it out while I prep everything else.
- If your dough seems too dry, don’t panic. Add a splash of milk—it fixes most things in life anyway.
- And, weirdly, underbaking really is the way to go. They keep cooking on the tray after you pull ‘em out, so resist the urge to leave them in “just one more minute.” I always regret it when I do.
Questions I Actually Get About These Cookies
- Can I freeze the dough? For sure! Just shape the cookies, freeze on a tray, then bag ‘em. Then bake straight from the freezer, maybe add 2 minutes? Works a treat.
- What if I only have double-stuff Oreos? Even better in my opinion—the more filling, the merrier. I say go for it; just chop smaller so there’s no huge globs.
- Can I make these gluten-free? Yeah, actually. I tried it once with the King Arthur blend and it worked pretty well (but a bit more crumbly—so heads up).
- I don’t like Oreos (gasp!)—other ideas? Any chocolate cookie works. Or swap in Biscoff cookies for a caramel twist. But honestly, maybe try the Oreos once? You might be a convert.
- How do I get those bakery-style cracks on top? Roll your dough balls loosely and don’t flatten them before baking. Also, a hot oven helps. Saw this tip on Sally's Baking Addiction—love her stuff, by the way!
- Egg substitute? I’ve had luck with ¼ cup unsweetened applesauce per egg, honestly. Flax egg works too, but a bit denser. See more on The Kitchn’s baking guides if you’re after more swaps.
- Why did mine get flat? Usually either too-warm butter or overmixing. Or sometimes it just happens (baking fairies?). But you can always sandwich ice cream between two and pretend it was intentional!
- Metric measurements? I use both, depending on the day. Best to grab a cheap kitchen scale if you’re serious—makes baking life so much easier. This one’s a good read if you’re curious: King Arthur’s chart.
Sidebar: Do you ever think about how wildly passionate people get about cookies? I once got into a fifteen-minute debate with my friend about the “right” size of chocolate chips. Honestly, just use what you've got unless you’ve got a cookie competition (in which case... good luck!).
Ingredients
- 1 cup unsalted butter, softened
- 1 cup granulated sugar
- ½ cup packed brown sugar
- 2 large eggs
- 1 teaspoon vanilla extract
- 2 cups all-purpose flour
- ¾ cup unsweetened cocoa powder
- 1 teaspoon baking soda
- ½ teaspoon salt
- 1 cup semi-sweet chocolate chips
- 12 Oreo cookies, coarsely crushed
Instructions
-
1Preheat oven to 350°F (175°C) and line a baking sheet with parchment paper.
-
2In a large bowl, cream together the butter, granulated sugar, and brown sugar until light and fluffy.
-
3Add in the eggs and vanilla extract, mixing until well combined.
-
4In a separate bowl, whisk together flour, cocoa powder, baking soda, and salt. Gradually add dry ingredients to the wet mixture, mixing until just combined.
-
5Fold in the chocolate chips and crushed Oreo cookies.
-
6Scoop large dough balls onto the prepared baking sheet. Bake for 12 minutes or until the edges are set. Allow cookies to cool on the sheet for 5 minutes before transferring to a wire rack.
Approximate Information for One Serving
Nutrition Disclaimers
Number of total servings shown is approximate. Actual number of servings will depend on your preferred portion sizes.
Nutritional values shown are general guidelines and reflect information for 1 serving using the ingredients listed, not including any optional ingredients. Actual macros may vary slightly depending on specific brands and types of ingredients used.
To determine the weight of one serving, prepare the recipe as instructed. Weigh the finished recipe, then divide the weight of the finished recipe (not including the weight of the container the food is in) by the desired number of servings. Result will be the weight of one serving.
Did you make this recipe?
Please consider Pinning it!!

