So, I Made Cheesy Taco Sticks with Ground Beef Filling Again...
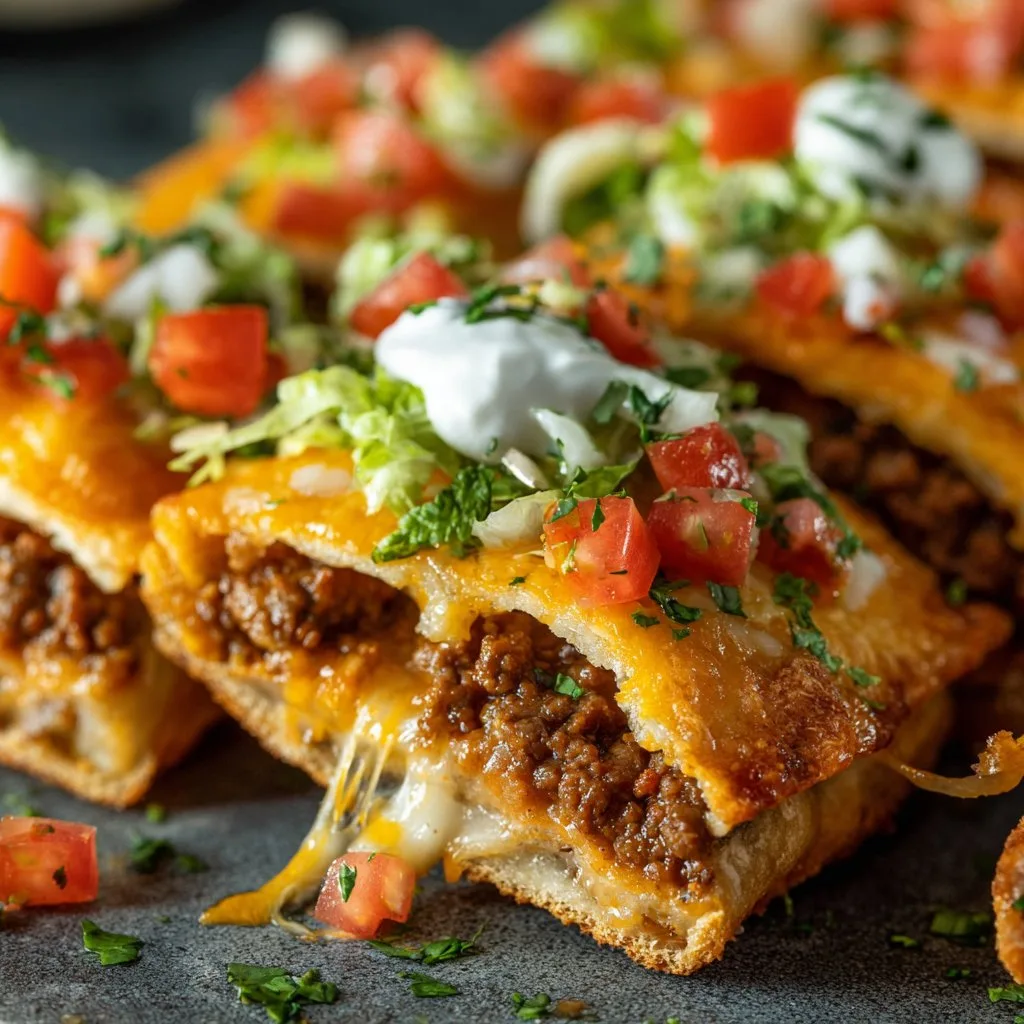
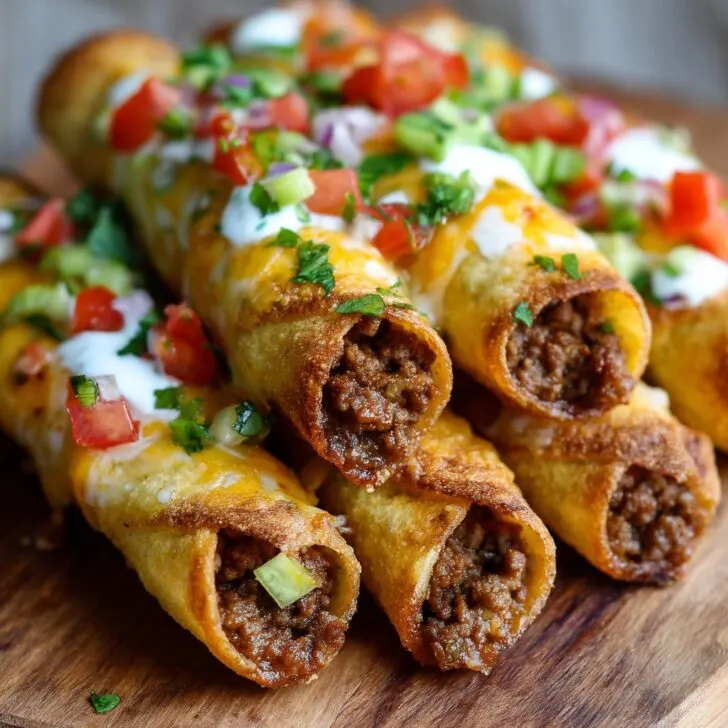
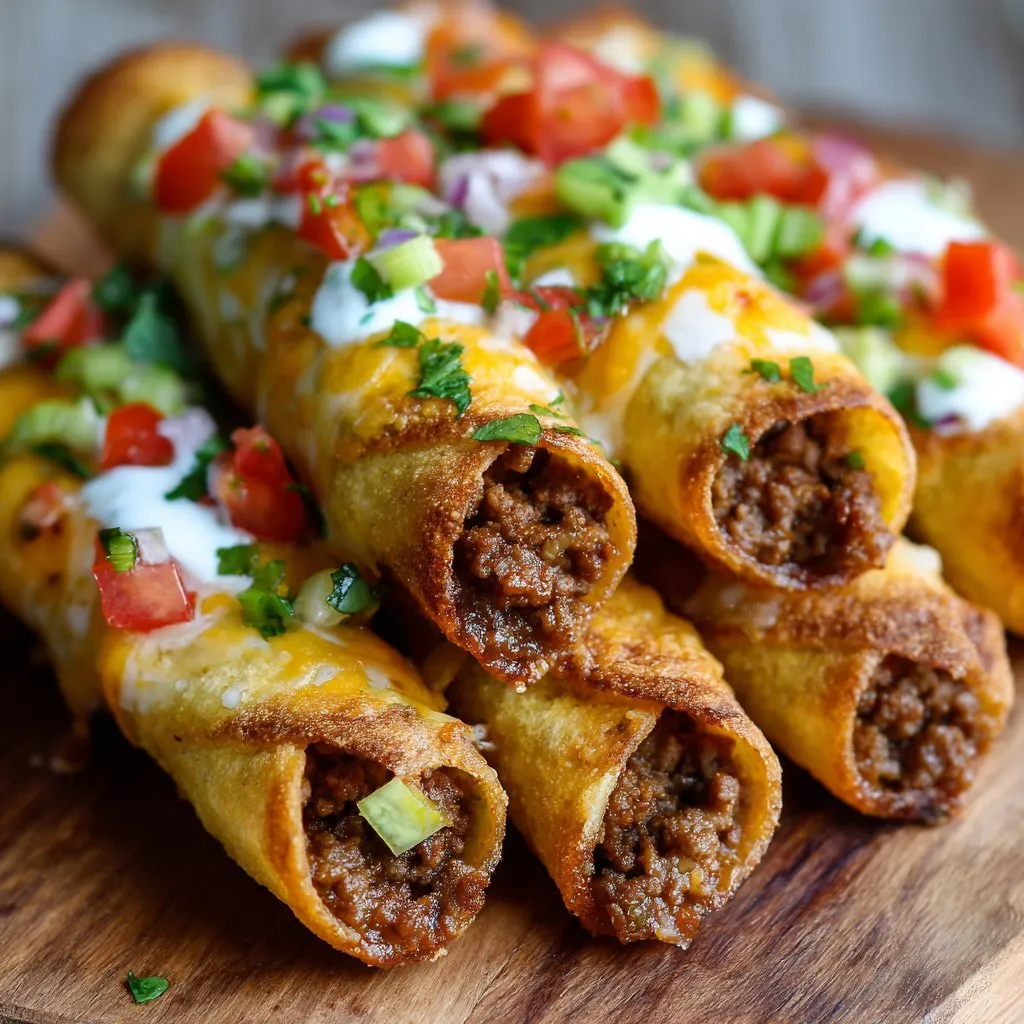
All right, confession time: Cheesy Taco Sticks with Ground Beef Filling might just be the most requested snack (or dinner, if we're feeling rebellious) in my house. I started making these one wild Saturday when we had a whole soccer team descend on us. The first batch disappeared in a blink. Actually, the second batch did too. And yes, there was cheese on the dog, but he's fine.
I suppose you could call these a sort of lazy person's answer to tacos, but honestly, they're so much more fun—and nobody's judging if you eat them over the sink in your pajamas. It's just one of those things that you end up making over and over, partly because they’re easy, but mostly because of that gooey cheese pull and spicy beef. (Oh, and because nobody complains, which is rare.)
Why You'll Love This (Or...Why I Keep Making It)
I make these Cheesy Taco Sticks with Ground Beef Filling when I’m too tired to deal with a pile of taco toppings or, let's be real, just don’t want to wash a ton of dishes. My family goes a bit bananas for them—even my picky nephew who normally only eats beige food. You know the type.
Honestly, sometimes I make a double batch just so I can hide a couple for myself after everyone’s gone to bed. And—total honesty—I used to try to be fancy and make dough from scratch, but now I just use whatever's in the fridge. No shame. (Once, I even tried hot dog buns sliced open; it sort of worked, but I wouldn't exactly recommend it unless you're desperate!)
Stuff You'll Need (And What to Swap If You Need To)
- 1 pound ground beef (If I’m out, I’ll use ground turkey—nobody ever notices, especially with enough seasoning!)
- 1 packet taco seasoning (homemade or store-bought—Grandma swears by the stuff from Aldi, but any kind is fine)
- ½ cup water
- 1 can refrigerated pizza dough (13.8 oz) (Crescent roll dough is a little flakier; it works in a pinch but gets messy. On second thought, maybe just stick with pizza dough if you can.)
- 1 ½ cups shredded cheddar cheese (Monterey Jack or a “Mexican blend” works too, and I sometimes toss in a handful of mozzarella for that stretchy, pizza vibe)
- 1 tablespoon melted butter (If you forget this step, it won’t ruin anything, but it makes ‘em pretty and just a smidge tastier)
- ½ teaspoon garlic powder (Or skip—it’s not make-or-break)
- Optional: diced jalapenos, black beans, or corn (I throw these in when I’m feeling wild, or if there’s leftovers hanging out in the fridge)
How I Actually Make These (With Some Wandering Side Notes)
- Preheat your oven to 425°F (220°C). Or, if your oven is like mine and has a mysterious hot spot, maybe check it at 400°F first. Grease a big baking sheet or line it with parchment—parchment is my best friend, honestly.
- Brown the ground beef in a skillet over medium heat. Drain off the fat (I usually just tip the pan and use a wad of paper towels—don’t tell the food safety police). Add the taco seasoning and water, stir, and let it simmer until it thickens up a bit—about 3 to 4 minutes.
- Roll out your pizza dough on the counter. I don’t bother with a rolling pin, just smoosh it out with my hands until it’s roughly a rectangle. Cut it into 8 strips—don't worry if they're not perfect, this isn’t a beauty contest.
- Spoon some beef along one side of each strip. Sprinkle a very generous amount of cheese on top (this is where I always eat a little cheese straight from the bag—mandatory!).
- Roll each strip up, pinch the edges to seal so the filling doesn’t escape. Place seam-side down on your baking sheet. If they look wonky, that’s fine. Mine are rarely straight; they still taste good.
- Brush melted butter over the tops, then sprinkle with garlic powder. Sometimes I forget the garlic powder, and it’s still delicious.
- Bake for about 12 to 15 minutes or until golden and a little puffed. If you see cheese oozing out, that's the best part, don’t panic.
What I've Learned (aka, Notes from the Trenches)
- If you overfill, they’ll burst open, but I just call them “cheese volcanoes.”
- Pizza dough sometimes sticks to the counter, so flour is your friend; but not too much or the dough gets tough. Learned that the hard way—multiple times.
- If you’re feeding a crowd, these taste just fine at room temp. Or even cold from the fridge, which I discovered after a late-night snack raid.
Some Variations (Successes, and a Flop or Two)
- Tried ground chicken with a little cumin and smoked paprika—surprisingly tasty!
- Once added canned black beans to the filling; made them heartier, but the kids staged a minor protest.
- Attempted a vegetarian version with mushrooms and onions. It...was not a hit. Maybe I just did it wrong. Mushrooms got soggy. Oh well, live and learn.
What If You Don't Have All the Tools?
I usually use a big baking sheet, but I’ve totally done these on a pizza stone—makes the bottoms crispier, actually. And if you don’t have parchment, just grease the pan well. No rolling pin? Wine bottle does the trick (just rinse it, obviously).

Can You Store These? (Not That They Usually Last)
Supposedly, you can keep leftovers in an airtight container in the fridge for up to three days. I think they taste even better the next day. But honestly, in my house it never lasts more than a day! Reheat in the oven for best results, but the microwave works if you’re impatient—just expect a slightly softer crust.
How I Like To Serve Them
I love these with sour cream and salsa on the side, maybe a little guac if there’s time (store-bought is fine, no judgment). My youngest dunks hers in ketchup, which is probably a crime somewhere, but hey—food is personal. If you’re entertaining, cut them in half and stick toothpicks in. Instant party food.
The "Please Don't Rush This Step" Pro Tips
- I once tried to skip the dough-sealing step because I was in a rush. Regretted it, because the filling ran everywhere. Take that extra 30 seconds!
- Don’t forget to preheat the oven. I have, and then everything bakes unevenly. Not the end of the world, but still.
- Let them cool for a few minutes before biting in. Learned that lesson the hard way—cheese-lava burns are no joke.
FAQ—Real Questions from Real Friends (and Me)
- Can I make these ahead?
Yep, just assemble, cover, and keep in the fridge for a few hours before baking. Actually, I find they bake up even crispier that way. - Are they freezer-friendly?
Sort of. Bake, cool, then freeze. Reheat in the oven from frozen. But the texture is a bit softer—still tasty, just don’t expect bakery-fresh. - What’s the best cheese?
Honestly, whatever you have. Cheddar gives that classic taco flavor. But once I used shredded mozzarella and cheddar mixed together and it was a happy accident. - Can I add veggies?
Sure! Peppers, onions, or corn are all great chopped pretty fine. Just don’t go overboard or the dough can get a bit soggy. - Where do you get good taco seasoning?
I like making my own—here’s a solid recipe from Gimme Some Oven, or just grab a packet at the store. No shame in shortcuts. - Any good side dish ideas?
Chips and salsa, maybe some Mexican rice. Or just more taco sticks, honestly. - What’s your favorite dipping sauce?
Tough one—sour cream and salsa for me. Oh, and once I made cashew queso—unreal.
Let me know if you make these—or if you figure out a better vegetarian version, because I still haven’t cracked that code! And if you want to level up your kitchen tools, Sally’s Baking Addiction has a good list; though 90% of the time I just use whatever’s clean.
Ingredients
- 1 pound ground beef
- 1 packet taco seasoning (about 1 oz)
- ⅓ cup water
- 1 can refrigerated pizza dough (13.8 oz)
- 1 ½ cups shredded cheddar cheese
- ½ cup shredded mozzarella cheese
- 2 tablespoons melted butter
- 1 teaspoon garlic powder
- Optional: chopped fresh cilantro, for garnish
Instructions
-
1Preheat the oven to 400°F (200°C) and line a baking sheet with parchment paper.
-
2In a skillet over medium heat, cook the ground beef until browned. Drain excess fat, then add taco seasoning and water. Simmer for 2-3 minutes until thickened. Remove from heat and let cool slightly.
-
3Unroll the pizza dough and cut into 8 equal rectangles. Place a spoonful of the seasoned beef and a generous sprinkle of both cheeses onto each rectangle.
-
4Fold the dough over the filling and pinch the edges to seal, forming sticks. Place seam-side down on the prepared baking sheet.
-
5Brush each stick with melted butter and sprinkle with garlic powder. Bake for 15-18 minutes, or until golden brown.
-
6Remove from oven, garnish with chopped cilantro if desired, and serve warm with your favorite dipping sauce.
Approximate Information for One Serving
Nutrition Disclaimers
Number of total servings shown is approximate. Actual number of servings will depend on your preferred portion sizes.
Nutritional values shown are general guidelines and reflect information for 1 serving using the ingredients listed, not including any optional ingredients. Actual macros may vary slightly depending on specific brands and types of ingredients used.
To determine the weight of one serving, prepare the recipe as instructed. Weigh the finished recipe, then divide the weight of the finished recipe (not including the weight of the container the food is in) by the desired number of servings. Result will be the weight of one serving.
Did you make this recipe?
Please consider Pinning it!!

