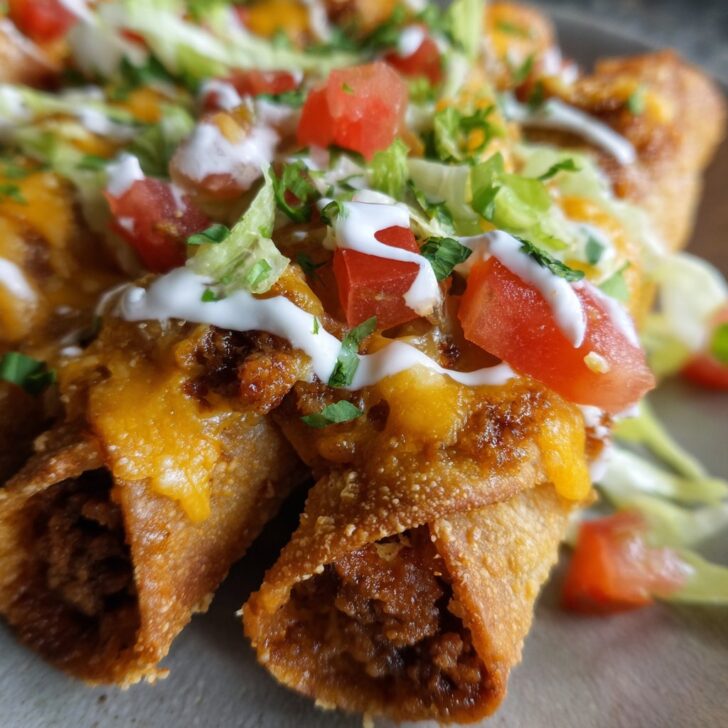
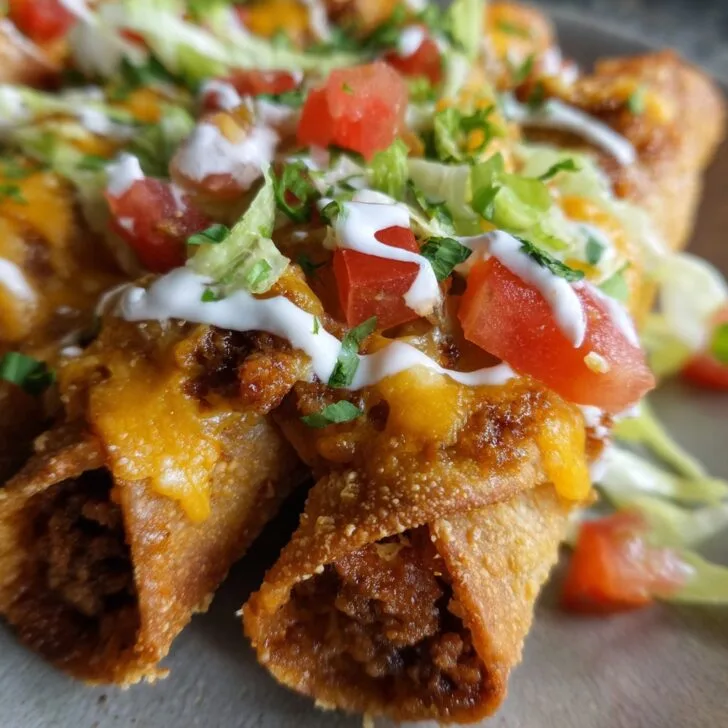
These Cheesy Taco Sticks Are Basically My Weeknight Hero
Alright, let me set the scene: it’s 5:45 pm, everybody’s hangry, and I’ve got precisely zero motivation to make a fancy dinner. Enter Cheesy Taco Sticks—the recipe that rescued me one rainy Thursday when I realized I had leftover taco meat and, blessedly, a can of pizza dough. Not exactly gourmet, but I swear my kids acted like I’d conjured them out of thin air. Also, there’s something about cheese stretchiness that makes food instantly more fun. I mean, who can resist that?
Anyway, first time I made these, I tried to roll the dough way too thin and half the cheese leaked out. (Still tasty, but yikes—cheese lava all over my baking tray.) Now I know better. I’ve tweaked this recipe enough that I could probably make it with my eyes closed… although, on second thought, that’s probably a bad idea with hot ovens involved.
Why I Keep Making These (And Why You Might, Too)
I make Cheesy Taco Sticks when I want something that feels like takeout but takes less effort than finding my wallet. My family goes wild for these—especially on game nights, or when I’m just not feeling the whole "sit at the table" vibe. They're grab-and-go, and if you have teenagers, you know that’s essential. And hey, if you’re like me and sometimes forget to thaw the meat, ground turkey totally works (one time I even used leftover rotisserie chicken, but my son claims that’s "just not right"). Oh! And the best part: you can totally sneak in veggies if you chop them small enough—no one notices, I promise.
What You’ll Need (But Sub As You Please)
- 1 tube refrigerated pizza dough (I’ve used the generic store brand, but my grandma swears by Pillsbury. Frankly, whichever is on sale goes in my cart.)
- 1 lb ground beef (I sometimes use ground turkey instead, or skip the meat entirely and just double up on beans if I’m feeling lazy.)
- 1 packet taco seasoning (You can make your own, but I usually just grab Old El Paso. I won’t tell.)
- 1 cup shredded cheddar cheese (Monterey Jack works, too. Or that bag of Mexican blend hiding in your fridge.)
- ½ cup canned black beans, drained and rinsed (Totally optional. I like the extra fiber, but my sister leaves them out.)
- 1 egg, beaten (For that shiny golden top. If you forget, no one will notice. I usually do.)
- Some flour for dusting
- Optional extras: Sliced jalapeños, chopped green onions, a handful of corn, or honestly, whatever’s about to go off in your veggie drawer.
Alright, Here’s How You Do It (More or Less)
- Preheat your oven to 400°F (200°C). I always forget this step until I’m halfway done—don’t be me.
- Brown the ground beef in a skillet over medium-high heat. Drain off any extra grease (unless you like it a bit greasy, no judgment). Sprinkle in the taco seasoning and a splash of water (the packet says ⅔ cup, but I just guess). Let it simmer for a few minutes. If you’re adding beans or corn, toss them in now.
- While that’s happening, roll out your pizza dough on a floured surface. You’re aiming for a big rectangle, maybe the size of a small baking tray. If it sticks, just sprinkle more flour. Don’t stress if it’s not perfectly shaped—mine never is.
- Cut the dough into 8 strips. I use a pizza cutter, but a sharp knife or even kitchen scissors will work if you’re desperate.
- Spoon a line of taco meat and cheese down the middle of each strip. This is where I usually sneak a bit of cheese for myself. Try not to overstuff or you’ll pay for it later (cheese explosion city).
- Fold in the sides of each strip and pinch the edges to seal them up. They’ll look a bit like misshapen hot pockets. That’s totally fine.
- Line a baking sheet with parchment (or just grease it if you’re out). Place the sticks seam-side down, brush with the beaten egg if you remembered, and pop them in the oven.
- Bake for about 15 minutes, or until golden and puffy. If the tops aren’t browning, give them another minute or two. Sometimes the cheese oozes out. That’s good luck—or so my daughter claims.
Stuff I’ve Figured Out the Hard Way
- If you try to overfill, you’ll end up with a messy tray and kind of sad-looking sticks (but still tasty, so not a disaster).
- Don’t skip the parchment unless you like scrubbing baked cheese off pans. (Trust me, I’ve been there.)
- Actually, I find it works better if you let them cool for a few minutes—burnt mouths are no fun.
Variations I’ve Tried (Some More Successful Than Others)
- Vegetarian: Sub in refried beans and swap in pepper jack cheese. Tastes awesome, even if my uncle grumbled about the lack of meat.
- Breakfast: I once mixed scrambled eggs, crumbled bacon, and cheese. Good, but a bit rich for my taste—maybe better as brunch than breakfast.
- Spicy: Jalapeños inside, and once I added hot sauce to the dough itself. That was... let’s just say, not my brightest idea. Too weird.
What You Need (Or How to Improvise)
- Baking tray (if you don’t have one, I’ve used a pizza stone before—works fine)
- Rolling pin (a wine bottle does the trick in a pinch, just make sure it’s clean!)
- Skillet for browning the meat
- Pizza cutter or knife (I’ve even used a butter knife—just takes longer)


How to Store ‘Em (If You Have Any Left)
Just pop leftovers into an airtight container and keep in the fridge. They’ll last two or three days, though honestly, in my house they never last more than a day! You can reheat in the microwave, but I think they’re way better if you toss them in the oven for a few minutes to crisp up the edges.
How We Serve These (But Really, Up to You)
I love to serve Cheesy Taco Sticks with little bowls of sour cream, salsa, and guacamole for dipping. If it’s Friday, maybe a side of tortilla chips for crunch. And if we’re feeling fancy (or just celebrating making it through the week), I whip up this easy homemade salsa recipe—well worth the extra few minutes.
Things I Wish I’d Known (AKA Pro Tips)
- I once tried rushing the sealing step—ended up with fillings everywhere. Take the extra minute, or you’ll regret it later.
- If you’re prepping ahead, you can assemble the sticks and refrigerate them, then just bake when needed. (But don’t let them sit too long or the dough gets a bit soggy.)
- Don’t skip the egg wash if you want that bakery-style shine. I always forget, but it does make them look prettier for Instagram, if you’re into that. Here’s more on egg washes if you want to nerd out.
Questions I Actually Get Asked (And My Honest Answers)
- Can I freeze these? Yep, you can! Just wrap 'em up tight. Reheat in the oven, not the microwave, or they’ll go kind of sad and chewy.
- Do I have to use pizza dough? Nah, biscuit dough works too, but it’s a bit flakier. Crescent roll dough is really soft and a bit tricky to seal, but it’ll work in a pinch.
- What’s the best cheese? Honestly, whatever you like or have lying around. I’ve even used mozzarella sticks, and they melted just fine (don’t tell the cheese snobs).
- Any way to make these gluten-free? I haven’t personally tried, but my friend Michelle swears by this gluten-free pizza dough recipe. Let me know if you try it!
- Can I make them ahead for a party? Absolutely! Just underbake by a couple minutes, then reheat right before serving so they’re gooey again.
Random side note: One time I forgot to set a timer and my dog got the first taste. Safe to say, he’s now a big fan of Cheesy Taco Sticks too. Anyway, hope you give these a try—and if you do, let me know how it goes! (Or if you discover a new twist, I’m all ears.)


Ingredients
- 1 pound ground beef
- 1 packet taco seasoning mix (1 oz)
- ¼ cup water
- 1 can refrigerated pizza dough (13.8 oz)
- 1 ½ cups shredded cheddar cheese
- ½ cup shredded mozzarella cheese
- 2 tablespoons melted butter
- 1 teaspoon garlic powder
Instructions
-
1Preheat oven to 400°F (200°C). Line a baking sheet with parchment paper.
-
2In a skillet over medium heat, cook ground beef until browned. Drain excess fat.
-
3Add taco seasoning and water to the beef. Stir and simmer for 2-3 minutes until thickened. Remove from heat and let cool slightly.
-
4Unroll the pizza dough and cut into 8 rectangles. Place a spoonful of taco meat and a sprinkle of cheddar and mozzarella cheese on each rectangle.
-
5Roll up each rectangle, pinching the edges to seal. Place seam-side down on the prepared baking sheet.
-
6Brush the tops with melted butter and sprinkle with garlic powder. Bake for 12-15 minutes or until golden brown. Serve warm.
Approximate Information for One Serving
Nutrition Disclaimers
Number of total servings shown is approximate. Actual number of servings will depend on your preferred portion sizes.
Nutritional values shown are general guidelines and reflect information for 1 serving using the ingredients listed, not including any optional ingredients. Actual macros may vary slightly depending on specific brands and types of ingredients used.
To determine the weight of one serving, prepare the recipe as instructed. Weigh the finished recipe, then divide the weight of the finished recipe (not including the weight of the container the food is in) by the desired number of servings. Result will be the weight of one serving.
Did you make this recipe?
Please consider Pinning it!!