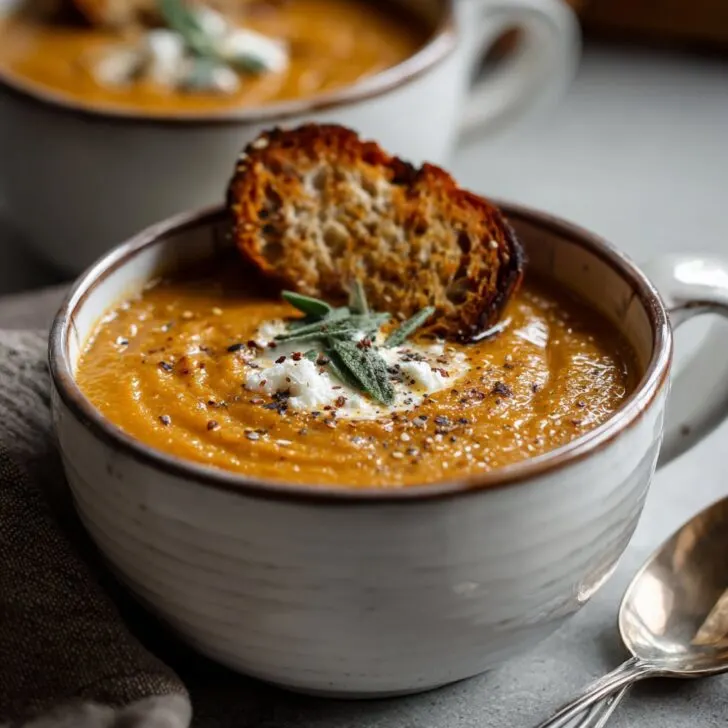
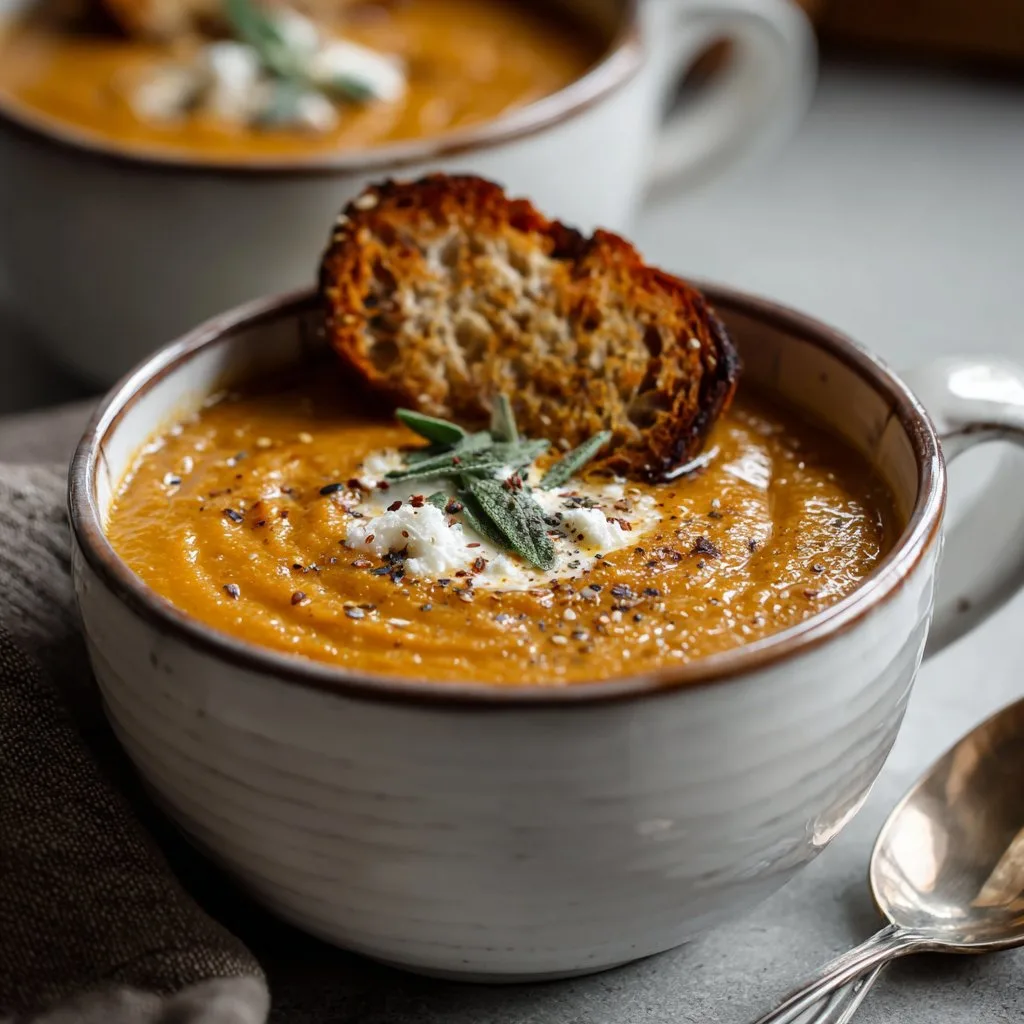
Let Me Tell You About This Butternut Squash Soup!
You know, every year when the air gets that little nip (you know the one—makes you want to dig out your favorite wooly socks), I get this urge to make something cozy. And honestly, nothing hits the spot quite like butternut squash soup. The first time I made it, I was convinced it’d turn out like orange baby food—let’s just say, the blender and I had a brief disagreement. But fast forward a few years, and now it’s a sort of fall tradition in my house. My kid still calls it "squishy soup"—which I choose to take as a compliment. And hey, if you end up with a little soup on your jumper, that's just part of the autumn experience, right?
Why You'll Love This Soup (Or, Why I Keep Making It)
I make this when I just want something simple but still impressive enough for when friends pop by—it’s like a hug in a bowl. My family goes a bit bonkers for this because it’s creamy (without loads of cream, surprisingly), and you can dunk bread into it. Sometimes I sneak in sweet potatoes if I have one rolling around (don’t tell my son; he still hasn’t figured it out). Also, I used to hate peeling squash, but I have a trick for that below! Oh, and if you’re sick of salads or just want something to warm your cockles (yep, I said cockles), this is your soup.
What You'll Need (and a Few Swaps!)
- 1 medium butternut squash (about 1kg)—sometimes I use pre-chopped if I'm feeling lazy. No shame.
- 1 medium onion, chopped (yellow, white, or, in a pinch, I’ve used shallots—works fine)
- 2 cloves garlic, minced (jarred garlic is totally okay here—it’s soup, not a date night)
- 2 medium carrots, sliced (though one time I used a parsnip and nobody noticed)
- 750ml chicken or veggie stock (homemade if you’re on a roll; cubes if you’re not—it honestly all works)
- 1 teaspoon salt, or more to taste
- ½ teaspoon black pepper
- Pinch of nutmeg (optional, but I think it’s magic)
- 60ml double cream or coconut milk (I sometimes skip it—still delicious!)
- Olive oil or butter for sautéing (my grandmother swore by Kerrygold, but really, any will do)
How I Make It (with a Few Detours)
- Peel and chop the squash. Or, actually, I find it’s way easier to just halve it, scoop out the seeds, and roast the whole thing cut-side down at 200°C for 30-40 minutes until soft. Then you can scoop out the flesh with a spoon, no peeling required! (I used to try and hack at it with a peeler and nearly lost a finger, so...just saying.)
- Start the flavor party. In a biggish pot, heat a glug of olive oil or a knob of butter. Toss in the chopped onion and carrots. Sweat them down for about 7 minutes until soft but not browned—this is where I usually take a little taste and then burn my tongue. Every time.
- Add garlic and squash. Stir in the garlic (don’t let it burn, it gets bitter), then add the roasted squash flesh (or raw cubes if you went that route). Give it a good stir.
- Pour in the stock. Add your stock, salt, pepper, and nutmeg. Give everything a nice swirl, bring to a gentle simmer, and let it cook for about 20 minutes. Don’t worry if it looks a bit odd at this stage—the magic happens later.
- Blend it up. Here’s where you want it silky. Use a stick blender right in the pot (careful, I’ve splattered orange soup on the ceiling before), or let it cool a little and whiz in batches in a blender. It’s your call.
- Finish with cream. Stir in the cream or coconut milk, taste for seasoning. Maybe add a bit more salt—it’s your soup.
- Serve it up. Ladle into bowls, and swirl a bit more cream on top if you’re feeling posh. Or just dig in with bread. I won’t judge.
Things I’ve Learned Along the Way (Notes!)
- Honestly, letting the soup sit for a few hours (or overnight) makes it even better. Like it somehow tastes more autumnal—don’t ask me how.
- If your soup is too thick, just add a splash more stock or water. But if it's too thin, well, you can always call it a "broth" and act like you meant to.
- Frozen squash works fine, but the flavor isn’t quite as deep. Still, I’ve done it in a pinch and nobody has ever complained.
Some Variations (Experiments—Some Great, One Not So Much)
- I’ve swapped carrots for apples once—surprisingly tasty. Adds a hint of sweetness.
- Added a pinch of curry powder once, and it gave the soup a nice warm kick.
- Tried tossing in kale once... but it turned a weird greenish color that my daughter called "swamp soup". Wouldn’t do that again.
Do You Really Need Fancy Equipment?
I do love my stick blender for this (less washing up), but if you don’t have one, a regular blender works. Just blend in batches. Actually, I once used a potato masher in a pinch—it was rustic, but still tasty. Don’t let the lack of gadgets stop you.

How to Store This Soup (Though Good Luck!)
Pop leftovers in a lidded container in the fridge—should keep for about three days. You can freeze it too (minus the cream; add that fresh when you reheat). But honestly, in my house it never lasts more than a day! Everyone always wants seconds.
How I Like to Serve It (And a Silly Tradition)
The classic is thick slices of crusty bread, but sometimes I top it with toasted pumpkin seeds or a dollop of plain yogurt. My family has this odd tradition of sprinkling a little grated cheddar on top—no idea where that started, but it works. And sometimes I put out homemade croutons (if I remember to make them—rare!).
Pro Tips (Learned the Hard Way)
- I once tried rushing the roasting step—don’t. The flavor just isn’t the same. Slow and steady, like a good Sunday walk.
- Don’t add all the cream at once; actually, I find it works better if you taste as you go.
- Watch out for blending hot soup! Seriously, I learned this the hard way and had to clean soup from my kitchen tiles for days.
FAQ (Because People Actually Ask Me These)
- Can I make this vegan? Yep, just use veggie stock and coconut milk. Tastes lush, promise.
- What if I don’t have butternut squash? Sweet potato or pumpkin works in a pinch—flavor changes a bit, but it’s still autumn in a bowl.
- Can I double this for a crowd? Sure thing! Just use a bigger pot—though you’ll need to blend in batches unless you’re an absolute wizard with a stick blender.
- Is it okay if my soup’s a bit chunky? Oh totally. Some folks actually prefer it rustic. My husband says it’s got more character that way.
- Do you recommend any other soup recipes? If you like this, you should absolutely check out this classic tomato soup—it’s a staple here too. Or poke around Smitten Kitchen’s hummus guide if you want a good autumn dip!
- Is peeling squash really worth it? Eh, sometimes. But mostly, I go the scooping route now. Life’s too short to wrestle a squash every week.
So, there you have it—my (occasionally chaotic) butternut squash soup routine. Hope you enjoy it, and if you make any wild tweaks, let me know how it goes. I’m always up for a new kitchen adventure—even if it means a few more orange stains on my apron.
Ingredients
- 1 medium butternut squash (about 2 lbs), peeled and cubed
- 1 medium yellow onion, chopped
- 2 cloves garlic, minced
- 2 tablespoons olive oil
- 4 cups vegetable broth
- ½ teaspoon ground nutmeg
- ½ teaspoon salt
- ¼ teaspoon black pepper
- ½ cup heavy cream (optional)
- Fresh parsley, for garnish
Instructions
-
1Preheat the oven to 400°F (200°C). Toss the butternut squash cubes with 1 tablespoon olive oil and spread them on a baking sheet. Roast for 25 minutes, until tender and lightly browned.
-
2In a large pot, heat the remaining olive oil over medium heat. Add the chopped onion and cook for 4-5 minutes until softened. Add the minced garlic and cook for 1 minute more.
-
3Add the roasted butternut squash to the pot. Pour in the vegetable broth, nutmeg, salt, and black pepper. Bring to a boil, then reduce heat and simmer for 10 minutes.
-
4Use an immersion blender to puree the soup until smooth, or carefully transfer to a blender in batches.
-
5Stir in the heavy cream, if using, and heat through. Taste and adjust seasoning as needed.
-
6Ladle the soup into bowls and garnish with fresh parsley. Serve hot.
Approximate Information for One Serving
Nutrition Disclaimers
Number of total servings shown is approximate. Actual number of servings will depend on your preferred portion sizes.
Nutritional values shown are general guidelines and reflect information for 1 serving using the ingredients listed, not including any optional ingredients. Actual macros may vary slightly depending on specific brands and types of ingredients used.
To determine the weight of one serving, prepare the recipe as instructed. Weigh the finished recipe, then divide the weight of the finished recipe (not including the weight of the container the food is in) by the desired number of servings. Result will be the weight of one serving.
Did you make this recipe?
Please consider Pinning it!!

