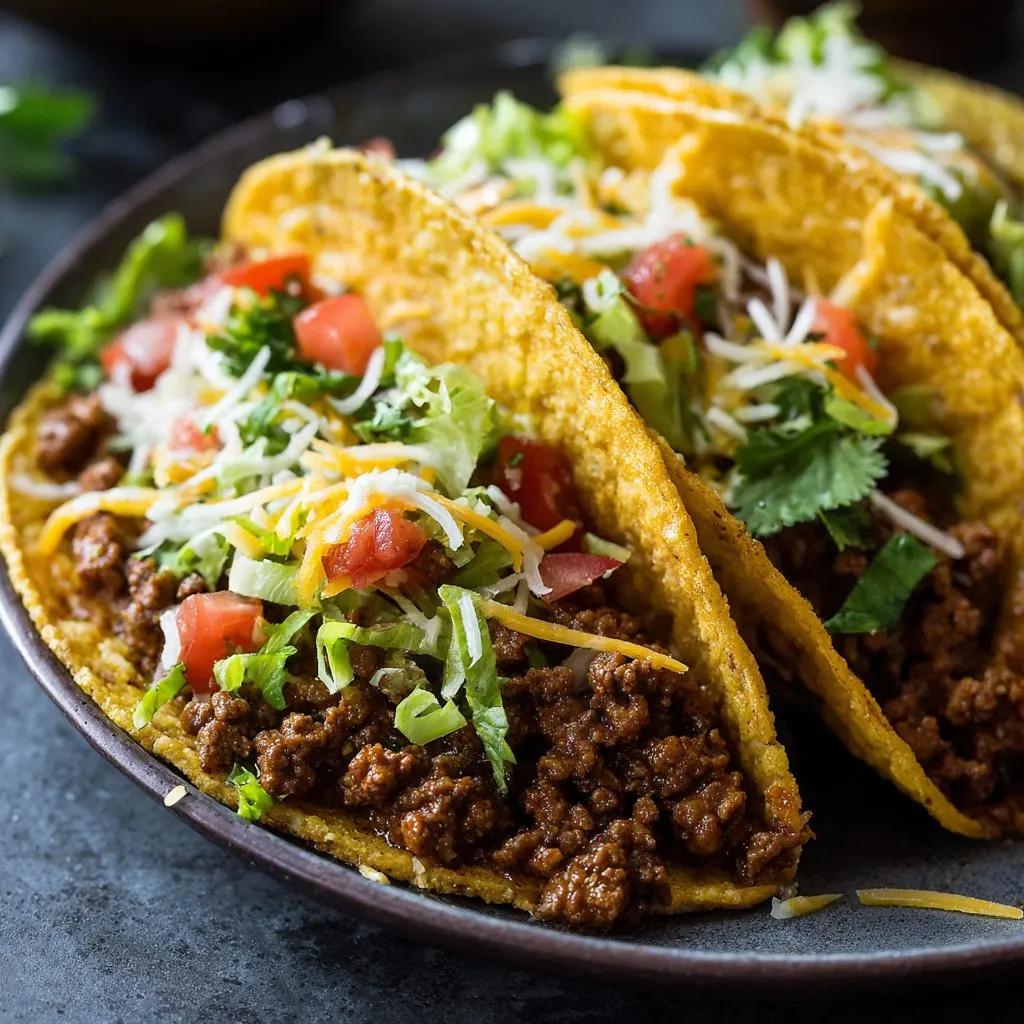
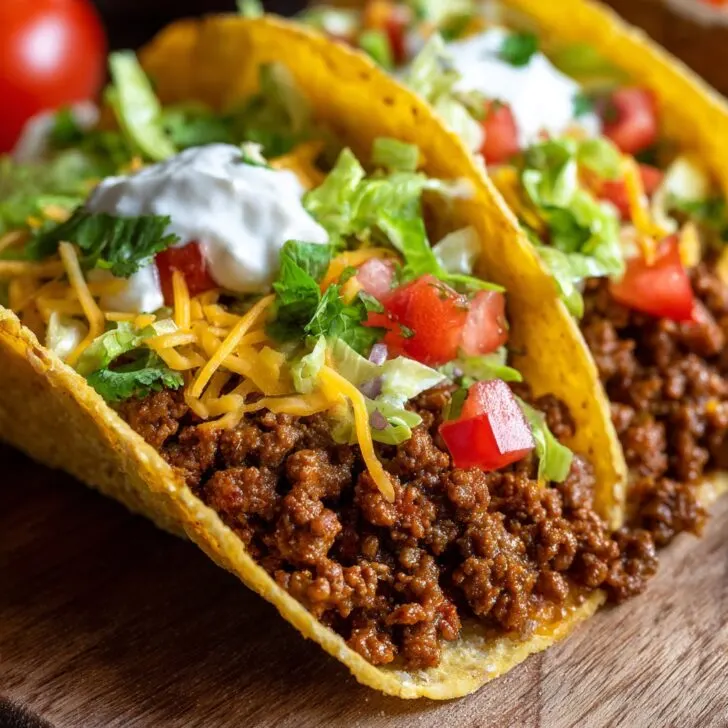
Let's Talk Taco Meat (And My Love-Hate With Tuesdays)
Okay, friend—so here's my confession: there was a whole year when every single Tuesday, without fail, my kids would ask if it was taco night (it wasn't always). I think they were just hoping I'd batch cook that amazing ground beef taco meat again, the one that somehow tastes even better reheated. You know, the kind of meal you can whip out of the fridge, zap for a minute or two, and—bam—dinner's sorted before you can say "where'd I put the cheese grater?" Honestly, I've even eaten it cold out of the container once. Don't judge.
Why I Keep Making This (And Maybe You Will Too)
I make this when I've got zero energy but still want to feel like I've cooked (does microwaving count as cooking? Never mind). My family goes a bit nuts for this because it's super flexible: one night it's tacos, the next it's loaded nachos. Or, when I'm feeling ambitious, I toss it on a baked potato and call it dinner. The only thing better than the taste is not having to think too much after a long day. Oh, and it freezes like a dream (except that one time I forgot to label the container—don't ask about "mystery meat surprise").
Here's What You'll Need (But I Swear It’s Flexible)
- 2 pounds ground beef (I usually get 80/20, but honestly, leaner works too. My grandma swore by the butcher’s counter, but the supermarket stuff is fine.)
- 1 big onion, diced (or, if I'm feeling lazy, a handful of frozen chopped onions from the bag)
- 3-4 cloves garlic, minced—though I'll admit I've used the jarred stuff when in a pinch
- 2 tablespoons chili powder (sometimes I swap a bit of this for smoked paprika—personal preference!)
- 1 tablespoon ground cumin
- 1 teaspoon dried oregano (or Italian seasoning, if that's all I can find—works fine)
- 1 teaspoon salt, plus more to taste
- ½ teaspoon black pepper
- ½ cup tomato sauce (or salsa, or even ketchup in an emergency—don’t @ me)
- ½ cup beef broth or water
- Optional: pinch of sugar to balance acidity (I don’t always bother)
How I Actually Make It (Not Always By The Book)
- Grab your biggest skillet or frying pan. Heat it up over medium-high heat. Add the ground beef and let it sizzle—don’t stir too much at first; a little browning is flavor city. (This is where I usually sneak a bite. Shhh.)
- Toss in your onions and let them sweat a bit, maybe 3-4 minutes until they're soft. If you’re using frozen onions, don’t worry if they look a little watery at first—it all evens out.
- Stir in garlic. Let it cook about a minute. (Once I got distracted and burned the garlic. Not great, but still edible!)
- Sprinkle in chili powder, cumin, oregano, salt, pepper. Give it a good stir so the spices coat everything—this is where it’ll start smelling like a proper taco joint.
- Add tomato sauce and broth. Scrape up any bits stuck to the pan (flavor alert). Bring it to a simmer.
- Let it bubble gently for 10-15 minutes, stirring now and then. If it looks a bit dry, splash in a bit more broth. If it gets too runny, just cook it longer. (Don’t panic. It always sorts itself out.)
- Taste for seasoning. Maybe add that pinch of sugar if it’s too tangy. Or more salt, ‘cause why not?
- Let it cool a bit before dividing into containers for the week—or honestly just serve right away if everyone’s already sniffing around the kitchen.
Notes From My Many Experiments (Successes and Fails)
- Sometimes I double the recipe and freeze half, but it does take ages to cool down. Stick your containers in a cold water bath to speed things up.
- Leftovers are even better the next day. I swear the flavors get cozy overnight.
- Once I forgot the onions. It was... fine, but just a bit flat. So if you can, don’t skip them. But, if you do, it’s not the end of the world.
Fun Variations (And One That Didn’t Go So Well...)
- If I’m feeling virtuous, I swap some or all of the beef for ground turkey. Tastes lighter but still good.
- I’ve tried tossing in a can of black beans for extra heartiness—works a treat!
- Added frozen corn once. It was...fine, but a bit sweet for my taste. The kids liked it though.
- Once tried lentils—honestly, not my thing, but maybe you’ll love it.
Do You Need Fancy Equipment? (Probably Not)
I use a big nonstick skillet, but if you’ve only got a regular frying pan, just keep an eye on it so nothing sticks. A wooden spoon is great, but I’ve mashed beef with a potato masher before (works a treat!). If you’re short on containers, zip-top bags work too—just be sure to let the meat cool down before freezing, unless you enjoy wrestling bags of hot taco lava.

How To Store It (If You Actually Have Leftovers)
Stick cooled taco meat in airtight containers or freezer bags. It’ll keep in the fridge for 4-5 days, or in the freezer for up to 3 months. Though honestly, in my house, it never lasts more than a day! If you freeze it flat in bags, it thaws super fast—and you can break off just a chunk if you only need a little. Lazy genius move, that.
How We Actually Eat This (Taco Tuesday...Or Thursday...Or...)
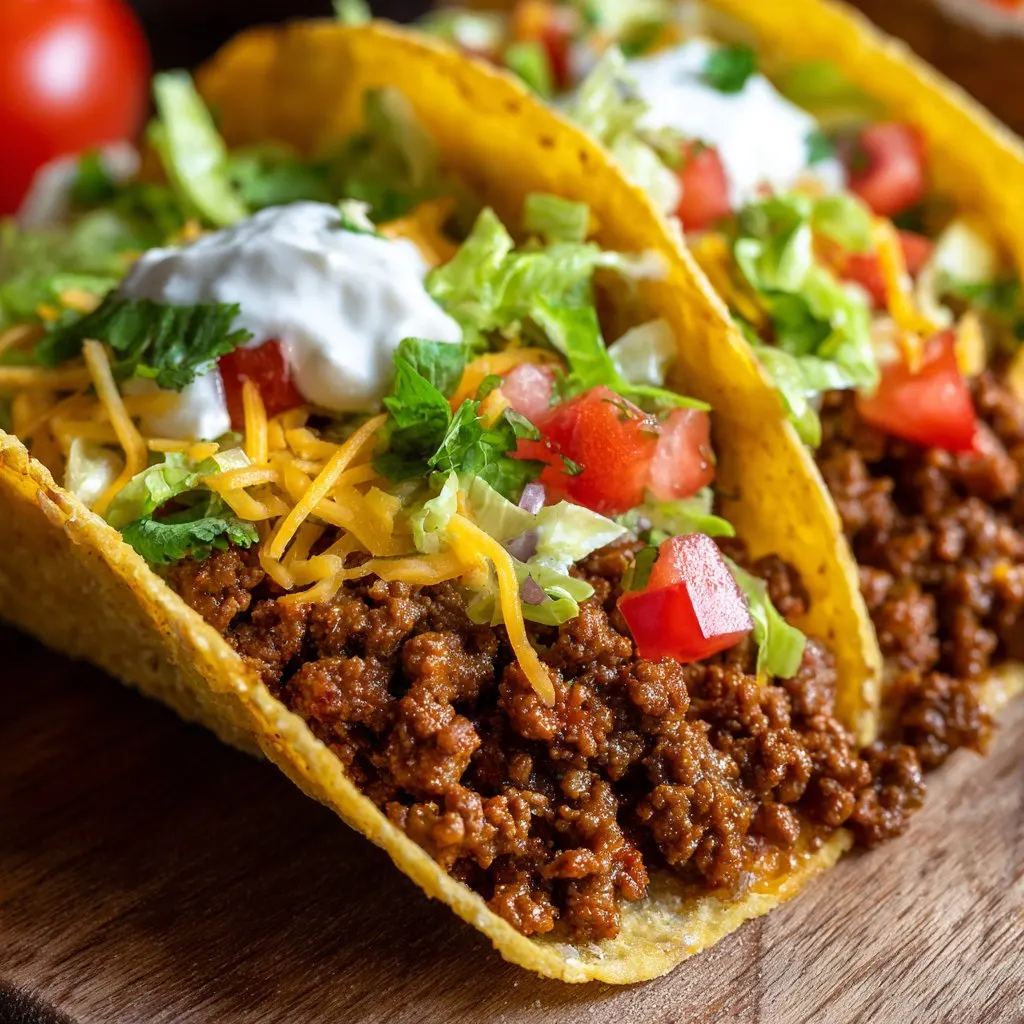
Most often, we just set up a taco bar with all the fixings (cheese, lettuce, salsa, sour cream, whatever’s languishing in the fridge). Sometimes I spoon it over tortilla chips for nachos, or roll it into burritos with rice. Oh, and my daughter loves it in a quesadilla—just slap some meat and cheese between two tortillas and crisp it up. On lazy days, I’ve even thrown a scoop over boxed mac and cheese. Is that weird? Probably. But it’s good.
Stuff I Learned The Hard Way (So You Don’t Have To)
- Rushing the simmering step—bad idea. The flavors need to hang out. I’ve tried cranking up the heat and it just got dry and bland. Lesson learned.
- Don’t skip tasting at the end. I almost always need a tiny bit more salt or a squirt of lime (which I sometimes forget to mention but, you know, it’s worth it).
- If you freeze it, label your containers. Mystery meat is only funny the first time.
Real Questions I Get (And My Real Answers)
- Can I make this ahead? Oh, absolutely. I actually think it tastes better the next day (is that just me?)
- What if I don’t have beef? Use ground turkey or chicken, or honestly, even crumbled tofu works. A friend of mine swears by it. I tried it once—wasn’t my favorite, but you do you!
- Do I need store-bought taco seasoning? Nope! But if you like those little packets, go for it. I just find mixing my own lets me tweak it.
- Is it spicy? Not really, but you can add hot sauce or jalapeños. Just don’t blame me if things get wild.
- How do I thaw it? If you froze it, just stick it in the fridge overnight, or microwave on low till hot. Or, in a pinch, I've set the whole frozen block in a pan with a splash of water—takes a bit but works!
- Any good toppings? Oh, where to start? Shredded cheese, chopped lettuce, diced tomato, pickled onions... or check out this Serious Eats taco topping guide for inspiration.
- Can I use this for meal prep? Totally. It’s the most useful thing in my fridge besides cold brew. Need ideas? Budget Bytes has a bunch of fun ways to use taco meat.
So, there you go—my go-to batch taco meat for quick weeknight chaos. Let me know if you try it (or if you invent a new combo I haven't thought of yet!).
Ingredients
- 2 pounds ground beef (80/20 or 85/15)
- 1 large onion, finely chopped
- 4 cloves garlic, minced
- 2 tablespoons chili powder
- 1 tablespoon ground cumin
- 1 teaspoon smoked paprika
- 1 teaspoon dried oregano
- 1 teaspoon salt
- ½ teaspoon black pepper
- ½ cup tomato sauce
- ½ cup beef broth
- 1 tablespoon olive oil
Instructions
-
1Heat olive oil in a large skillet or Dutch oven over medium-high heat. Add chopped onion and cook for 3-4 minutes until softened.
-
2Add minced garlic and cook for 1 minute, stirring frequently to avoid burning.
-
3Add ground beef to the skillet. Cook, breaking up the meat with a spoon, until browned and no longer pink, about 7-8 minutes. Drain excess fat if necessary.
-
4Stir in chili powder, cumin, smoked paprika, oregano, salt, and black pepper. Mix well to evenly coat the beef.
-
5Pour in tomato sauce and beef broth. Stir to combine, then reduce heat to low and simmer for 10-12 minutes, allowing flavors to meld and liquid to reduce slightly.
-
6Taste and adjust seasoning if needed. Serve immediately or let cool and store in airtight containers for meal prep.
Approximate Information for One Serving
Nutrition Disclaimers
Number of total servings shown is approximate. Actual number of servings will depend on your preferred portion sizes.
Nutritional values shown are general guidelines and reflect information for 1 serving using the ingredients listed, not including any optional ingredients. Actual macros may vary slightly depending on specific brands and types of ingredients used.
To determine the weight of one serving, prepare the recipe as instructed. Weigh the finished recipe, then divide the weight of the finished recipe (not including the weight of the container the food is in) by the desired number of servings. Result will be the weight of one serving.
Did you make this recipe?
Please consider Pinning it!!

