
Pull Up a Chair: Let's Talk Aroma Rice Cooker (And Rice Mishaps)
Alright, so you just got yourself an Aroma Rice Cooker and naturally, you’re wondering how to make fluffy rice—white or brown—without it gluing itself to the bottom or coming out with that odd chewiness that somehow reminds me of overcooked oatmeal (not the good kind). Let me tell you: I’ve had my fair share of rice adventures. Once, my cousin showed up late for dinner, and I’d just let the rice sit on warm for... let’s say, several hours. We basically had rice crackers by then. Anyway—don’t do that. Grab your spoon, I’ll walk you through the way I actually make it at home, occasional chaos and all.
Why I Make This (and Why You’ll Probably Want To)
I make this when I just need something easy that won’t make me swear under my breath—like weekday dinners when the clock’s run off without me. My family goes wild for the white rice especially—my youngest calls it “cloud rice” (no idea, but I’ll take it). Brown rice? That’s for when I’m feeling health-conscious, or I have leftover curry that needs a hug. And honestly, after a few so-so batches, I stopped measuring with military precision. Sometimes, it’s more about the vibe than the number.
What You’ll Need (Substitutions Welcome, Grandma Approved)
- White rice (long grain, jasmine, or basmati): I use whatever’s on sale, but my grandma swore by Lundberg (can’t always find it though).
- Brown rice (short or long grain): Brown rice takes longer, but it’s worth it if you want that nutty thing going on.
- Water: Filtered if you’re feeling fancy, straight form the tap if you’re not.
- Salt (optional): I always pinch in a bit, but to each their own.
- Oil or butter (optional): A splash of olive oil or a knob of butter if you want silky grains (I do this on weekends mostly).
- Bonus: Bay leaf, garlic clove, or a little frozen corn (my kitchen, my rules).
How I Actually Cook Rice in the Aroma Rice Cooker
- Give it a rinse: Measure your rice with the cup from the cooker. Rinse under cold water till the water’s less murky. I don’t always have patience for this, but it does make the rice fluffier. (Sometimes I skip this when running late, honestly.)
- Measure the water: For white rice, it’s about 1 cup rice : 1.5 cups water. Brown rice is thirstier—try 1 cup rice : 2 cups water. If you like it drier, try a bit less. (I use the finger method—check out this guide from The Woks of Life if you’re curious.)
- Add extras: Salt, oil, butter, bay leaf, a smashed garlic clove if you’re feeling wild. Not strictly necessary, but I swear it smells like a fancy restaurant if you do.
- Shut the lid and press the right button: White rice setting for white rice, brown rice button for brown rice. Don’t overthink it. The cooker will click and beep at you—sometimes too enthusiastically, if you ask me.
- Let it rest: Once it switches to “Warm,” let it hang out for at least 10 minutes. This is when I usually sneak a taste (and burn my tongue, because I never learn). Don’t worry if it looks a bit wet at first—it firms up.
- Fluff and serve: Use the plastic paddle if you’ve got it. Or a regular fork, just don’t scratch the nonstick. And if it’s a little sticky? That’s how you know it’s homemade.
Random Notes (From a Rice-Obsessed Mind)
- If your rice comes out a tad crunchy, it probably just wants a little more water and another quick cycle. Don’t panic.
- Forgot to rinse? The world keeps spinning, just expect the grains to be a bit gummier.
- Actually, I find brown rice tastes better the next day—try it cold with a bit of soy sauce, like a midnight snack.
Variations I’ve Tried (Some Successful, Some... Not So Much)
- Saffron rice: Toss in a pinch of saffron and a spoonful of peas. Looks impressive, tastes lovely.
- Coconut rice: Replace half the water with coconut milk. Sweet and a bit sticky, but pairs with grilled chicken like a dream.
- Wild experiment gone wrong: Once tried tomato juice instead of water (don’t do it, unless you like rice soup—my husband still teases me).
Don’t Have a Rice Paddle? No Worries
If you can’t find the paddle (I lose mine all the time), just use a regular serving spoon, or even your clean hands (careful—hot!). If you don’t have a rice cooker at all, well, you can use a pot on the stovetop—just know you’ll have to watch it more closely.


How I Store Leftovers (If There Are Any!)
Pop cooled rice into an airtight container and fridge it for up to three days—though honestly, in my house it barely makes it through the night. If it dries out, splash on a bit of water and microwave covered. I’ve read about freezing rice, but I’m always out of freezer space because of my ice cream habit.
How We Serve It (And Why I Love Leftovers)
I love mine with a drizzle of tamari and a sprinkle of sesame seeds. Sometimes on the weekend, I make a quick fried rice with whatever’s left—add egg, leftover veggies, maybe a dash of sriracha if you’re feeling spicy. My aunt insists on pairing rice with beans and a fried plantain—highly recommend. And if you’re after more rice ideas, Just One Cookbook has some lovely Japanese-style twists.
Lessons I Learned the Hard Way (Pro Tips from Many a Mishap)
- I once tried rushing the resting step—ended up with mushy rice. Don’t do it, just wait, scroll your phone, anything.
- If the rice smells a little off, toss it. Trust your nose, not the calendar.
- Don’t overload the rice cooker. I once filled it way too high, and the lid popped open mid-cycle. Oops.
Questions You Might Have (Because I Definitely Did)
- Do I really need to rinse the rice? Short answer: It helps, but if you skip it now and then, nobody’s judging. The rice police won’t show up.
- Can I double the recipe? Go for it, but don’t fill past the max line—the cooker will let you know, sometimes with a hiss.
- Why is my rice sticking to the bottom? Might be too little water, or you didn’t oil the pot, or maybe it’s just one of those days. Scrape it up and call it crispy for fun.
- Is it the same for other grains? Sort of, but each grain has its quirks. Quinoa, for example, is fussier. There’s a good guide on Serious Eats if you’re curious.
- What if I don’t have an Aroma brand? No worries—these instructions work for most rice cookers, though you might have to fiddle with the water a bit.
So, there you go. Hopefully this helps your rice game, and maybe, just maybe, saves you from crunchy-bottom syndrome (it’s a thing). Now get cooking, and if you discover any wild variations, let me know. Or don’t—sometimes the family’s better off not knowing about the failed tomato rice. Cheers!


Ingredients
- 1 cup white rice
- 1 cup brown rice
- 4 cups water (2 cups for each rice type)
- ½ teaspoon salt
- 1 tablespoon olive oil or butter (optional)
- 1 bay leaf (optional, for flavor)
- ½ teaspoon garlic powder (optional)
- Fresh herbs for garnish (optional)
Instructions
-
1Rinse the white and brown rice separately under cold water until the water runs clear to remove excess starch.
-
2Add 1 cup of white rice and 2 cups of water to the rice cooker pot. Repeat with 1 cup of brown rice and 2 cups of water if cooking both types.
-
3Add salt, olive oil or butter, and optional bay leaf or garlic powder to the rice and water mixture. Stir gently to combine.
-
4Close the rice cooker lid. Select the 'White Rice' or 'Brown Rice' setting, depending on the type of rice you are cooking. Start the cooker.
-
5Once the rice cooker switches to 'Warm', let the rice sit for 5-10 minutes before opening the lid to allow the steam to finish cooking the rice.
-
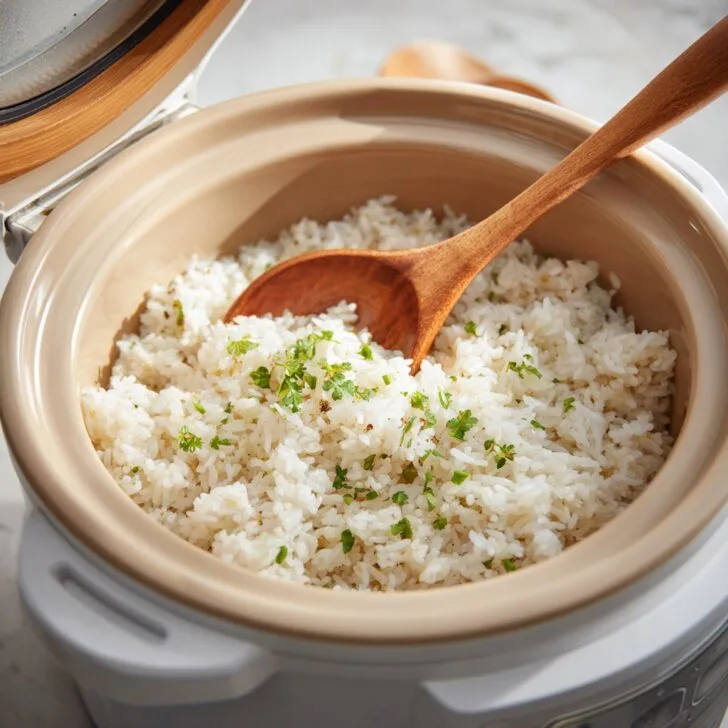
6Fluff the rice with a fork and garnish with fresh herbs if desired. Serve warm.
Approximate Information for One Serving
Nutrition Disclaimers
Number of total servings shown is approximate. Actual number of servings will depend on your preferred portion sizes.
Nutritional values shown are general guidelines and reflect information for 1 serving using the ingredients listed, not including any optional ingredients. Actual macros may vary slightly depending on specific brands and types of ingredients used.
To determine the weight of one serving, prepare the recipe as instructed. Weigh the finished recipe, then divide the weight of the finished recipe (not including the weight of the container the food is in) by the desired number of servings. Result will be the weight of one serving.
Did you make this recipe?
Please consider Pinning it!!