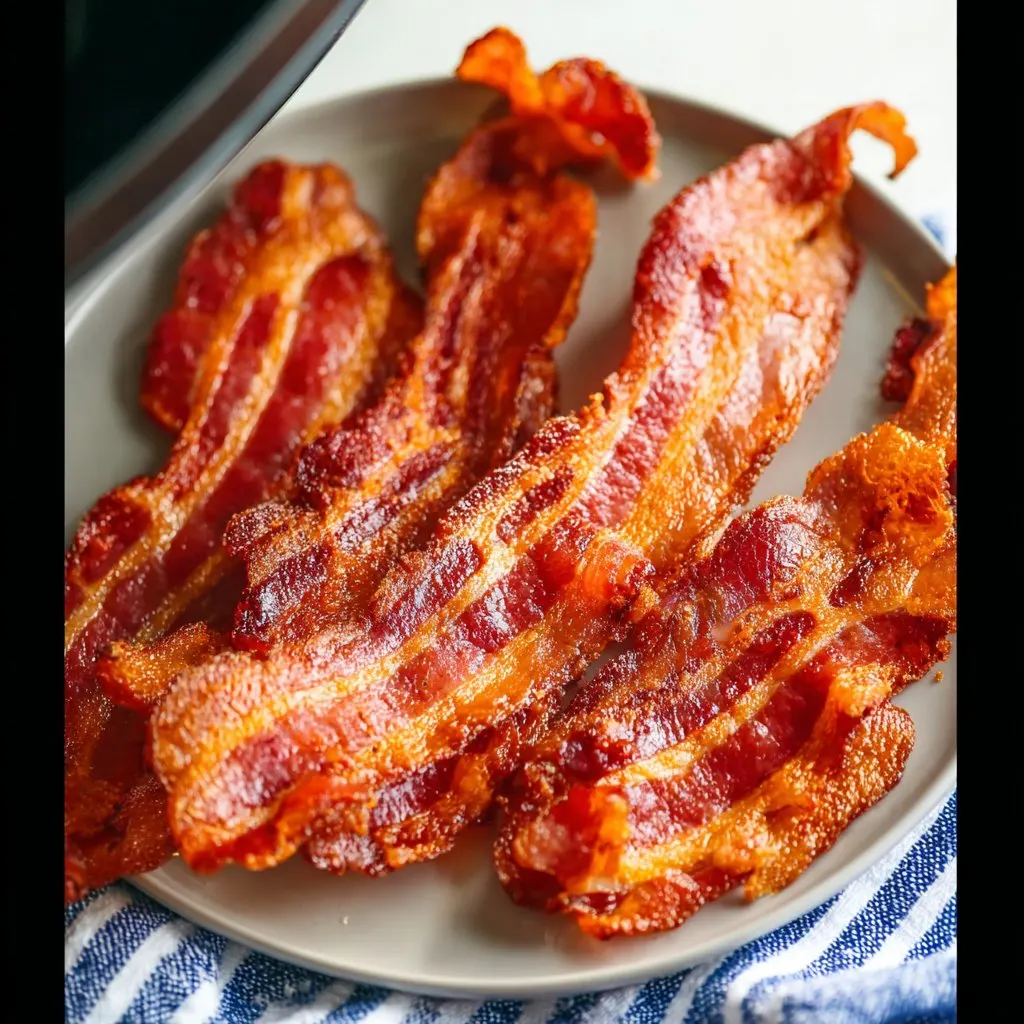
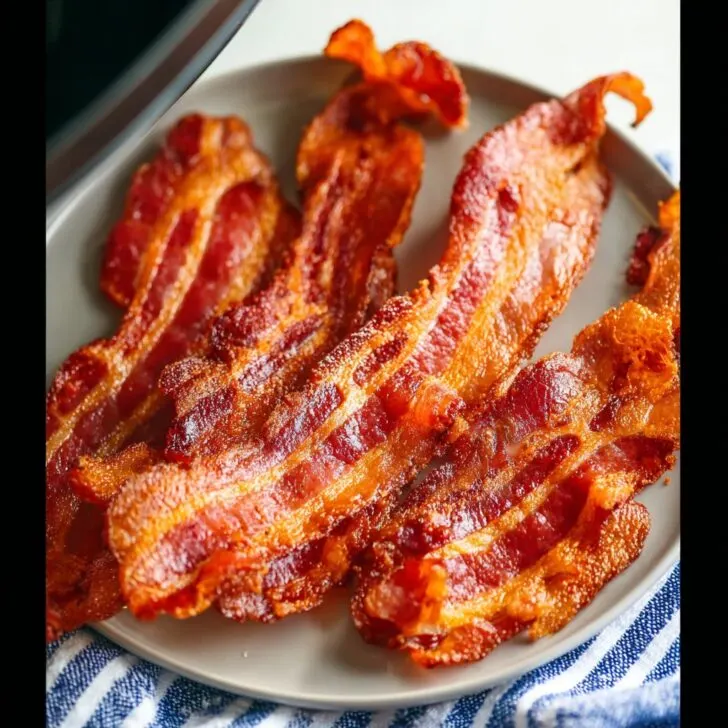
Let's Talk About Air Fryer Bacon (and Why I'm Obsessed)
Okay, not gonna lie, the first time I stuck bacon in my air fryer I was a little skeptical. I’d only just gotten the thing; it still smelled vaguely like burnt plastic (you know that new appliance smell?) and I wasn’t sure it could really improve on good old pan-fried bacon. But, turns out, the air fryer is some sort of kitchen wizard when it comes to bacon. I can get it crispy without standing over a splattering skillet—plus, I don’t have to scrub grease off the stovetop for an hour. The only downside? My dog now expects every passing beep to mean bacon is coming his way. Oh, and if my cousin Gemma is reading this: no, it’s not cheating, it’s just smart.
Why You'll End Up Making This All the Time
I make this when the kids are up at the crack of dawn and my brain isn’t even switched on yet (seriously, who invented mornings?). My family goes absolutely bonkers for it because it’s always perfectly crispy and, let’s be honest, it makes the house smell like a breakfast diner. I used to dread bacon because of the mess; now I can whip it up while half-watching the news—or, sometimes, scrolling through bacon hacks on Serious Eats to see if I’m missing out on some secret technique (spoiler: I usually am). One caution: if you like your bacon floppy, this method might just ruin you for life. Sorry not sorry!
Here's What You'll Need (and What I’ve Swapped In)
- Bacon: Any kind, honestly. I usually grab thick-cut because it feels a bit more substantial, but regular works too. My grandmother always insisted on Oscar Mayer, but I just buy whatever's on sale.
- Cooking spray (optional): I sometimes use a little if I’m worried about sticking, but usually there’s enough fat.
- Paper towels: For draining, or you can just plop it on some old napkins—no judgment.
- Optional flavor tweaks: Maple syrup, cracked black pepper, or a sprinkle of brown sugar if you’re feeling fancy. I tried sriracha once and, well, my mouth still hasn’t forgiven me.
How I Actually Do It (With Honest Asides)
- Preheat your air fryer to 350°F (180°C). (Actually, sometimes I forget this step and it still works out fine—but if you want maximum crisp, preheat!)
- Arrange the bacon in a single layer in the basket. It’s fine if the ends overlap a bit; bacon sort of shrinks up anyway. Sometimes I just pile it in and separate later.
- Cook for about 7-9 minutes for regular bacon. For thick-cut, 10-12 minutes is more my style. Halfway through, I open it up, peek in, and flip the slices with tongs—or a fork if I can’t find the tongs (which is, like, every other time).
- When it looks crispy (or as floppy as you like), yank the basket and transfer the bacon to a plate lined with paper towels. This is where I usually sneak a piece. Don’t worry if some pieces look a little weird at this stage — they seem to crisp up more as they cool.
Stuff I’ve Noticed (A.K.A. “Notes”)
- If you crowd the basket, the bacon steams instead of crisps. I learned this the hard way. Patience, grasshopper.
- The first batch always comes out a bit different than the second. Not sure why. Maybe the air fryer ‘wakes up’?
- If you like super crispy bacon, leave it in for an extra minute, but keep an eye on it—the difference between crisp and burnt is like, a blink.
Stuff I’ve Tried (Some Good, Some Not-So-Good)
- Turkey bacon: Actually works well! Just check on it sooner; it cooks fast.
- Maple-glazed bacon: Add a drizzle of maple syrup halfway through cooking. You’ll want to clean your basket right after, trust me.
- Vegan bacon: Erm... I tried it, but it sort of just curled up into a sad little scroll. Maybe someone else will have better luck?
What If I Don't Have the Gear?
I use a basic basket-style air fryer. If you’ve got one with shelves, just rotate the trays. No air fryer? Oven bacon’s still great—just takes longer and more cleanup. I used to do it with a George Foreman grill, but the cleanup was a bear. No tongs? Honestly, a fork or even your fingers (careful!) will do.

How To Store (But It Never Lasts Long)
I keep leftovers in an airtight container in the fridge, but, if I’m honest, in my house cooked bacon disappears faster than you can say "second breakfast." If you do have leftovers, they’ll keep for a couple of days and reheat nicely in the air fryer for a minute or two.
How I Like To Serve It
I love it with pancakes and a drizzle of real maple syrup on the side, or crumbled over a salad at lunch (weirdly delicious). My brother likes it in BLTs, and once in awhile we do breakfast-for-dinner, which is a tradition in my house. Oh! And always with a cup of coffee, obvs.
Things I’ve Learned (Pro Tips, Sort Of)
- I once tried rushing the flip step and the bacon stuck together in a clump—not fun. Take your time.
- Don’t walk away and forget the batch. One time I tried to fold laundry and came back to bacon that looked like, I don't know, charcoal art?
- Clean the air fryer basket while it’s still warm. If you wait, you’ll be chiseling bacon bits off for days.
Questions I Actually Get (and My Real Answers)
- Is air fryer bacon really less greasy?
Sort of! The fat drips down, but it’s still, well, bacon… So not a health food, but maybe a tad less oily. - Can I layer the bacon?
You can, but it won’t get as crispy. I’ve done it in a hurry, but you get some soggy bits. (Still tasty, though.) - Do I need to flip it?
I say yes. Some people skip this, but I find it crisps more evenly if you do. - What about cleaning? Is this going to stink up the house?
It can, a bit. Crack a window if you’re worried. And clean the tray after or the smell sticks around! - What’s the best bacon to use?
Honestly, whatever you like. I’m not picky, as long as it’s not see-through…
By the way, if you ever find yourself with leftover bacon (ha!), check out this list of fun bacon recipes — I found the pasta one surprisingly good, even if I did overcook it the first time.
And if you’re sitting there wondering whether this totally counts as 'cooking' — yep, I’ve had that debate at the family table too. My verdict: if bacon’s involved, you win, no matter how you made it. Happy munching!
Ingredients
- 8 slices thick-cut bacon
- ½ teaspoon freshly ground black pepper
- ¼ teaspoon smoked paprika
- ¼ teaspoon garlic powder
- ¼ teaspoon brown sugar
- Cooking spray (optional, for air fryer basket)
- Chopped fresh parsley, for garnish (optional)
- Paper towels, for draining
Instructions
-
1Preheat the air fryer to 400°F (200°C) for 3 minutes.
-
2Lightly spray the air fryer basket with cooking spray if desired to prevent sticking.
-
3Arrange the bacon slices in a single layer in the air fryer basket, ensuring they do not overlap. Work in batches if necessary.
-
4In a small bowl, mix black pepper, smoked paprika, garlic powder, and brown sugar. Sprinkle the seasoning evenly over the bacon slices.
-
5Air fry the bacon at 400°F (200°C) for 8-10 minutes, flipping halfway through, until crispy and golden brown.
-
6Transfer the cooked bacon to a plate lined with paper towels to drain excess grease. Garnish with chopped parsley if desired and serve immediately.
Approximate Information for One Serving
Nutrition Disclaimers
Number of total servings shown is approximate. Actual number of servings will depend on your preferred portion sizes.
Nutritional values shown are general guidelines and reflect information for 1 serving using the ingredients listed, not including any optional ingredients. Actual macros may vary slightly depending on specific brands and types of ingredients used.
To determine the weight of one serving, prepare the recipe as instructed. Weigh the finished recipe, then divide the weight of the finished recipe (not including the weight of the container the food is in) by the desired number of servings. Result will be the weight of one serving.
Did you make this recipe?
Please consider Pinning it!!
